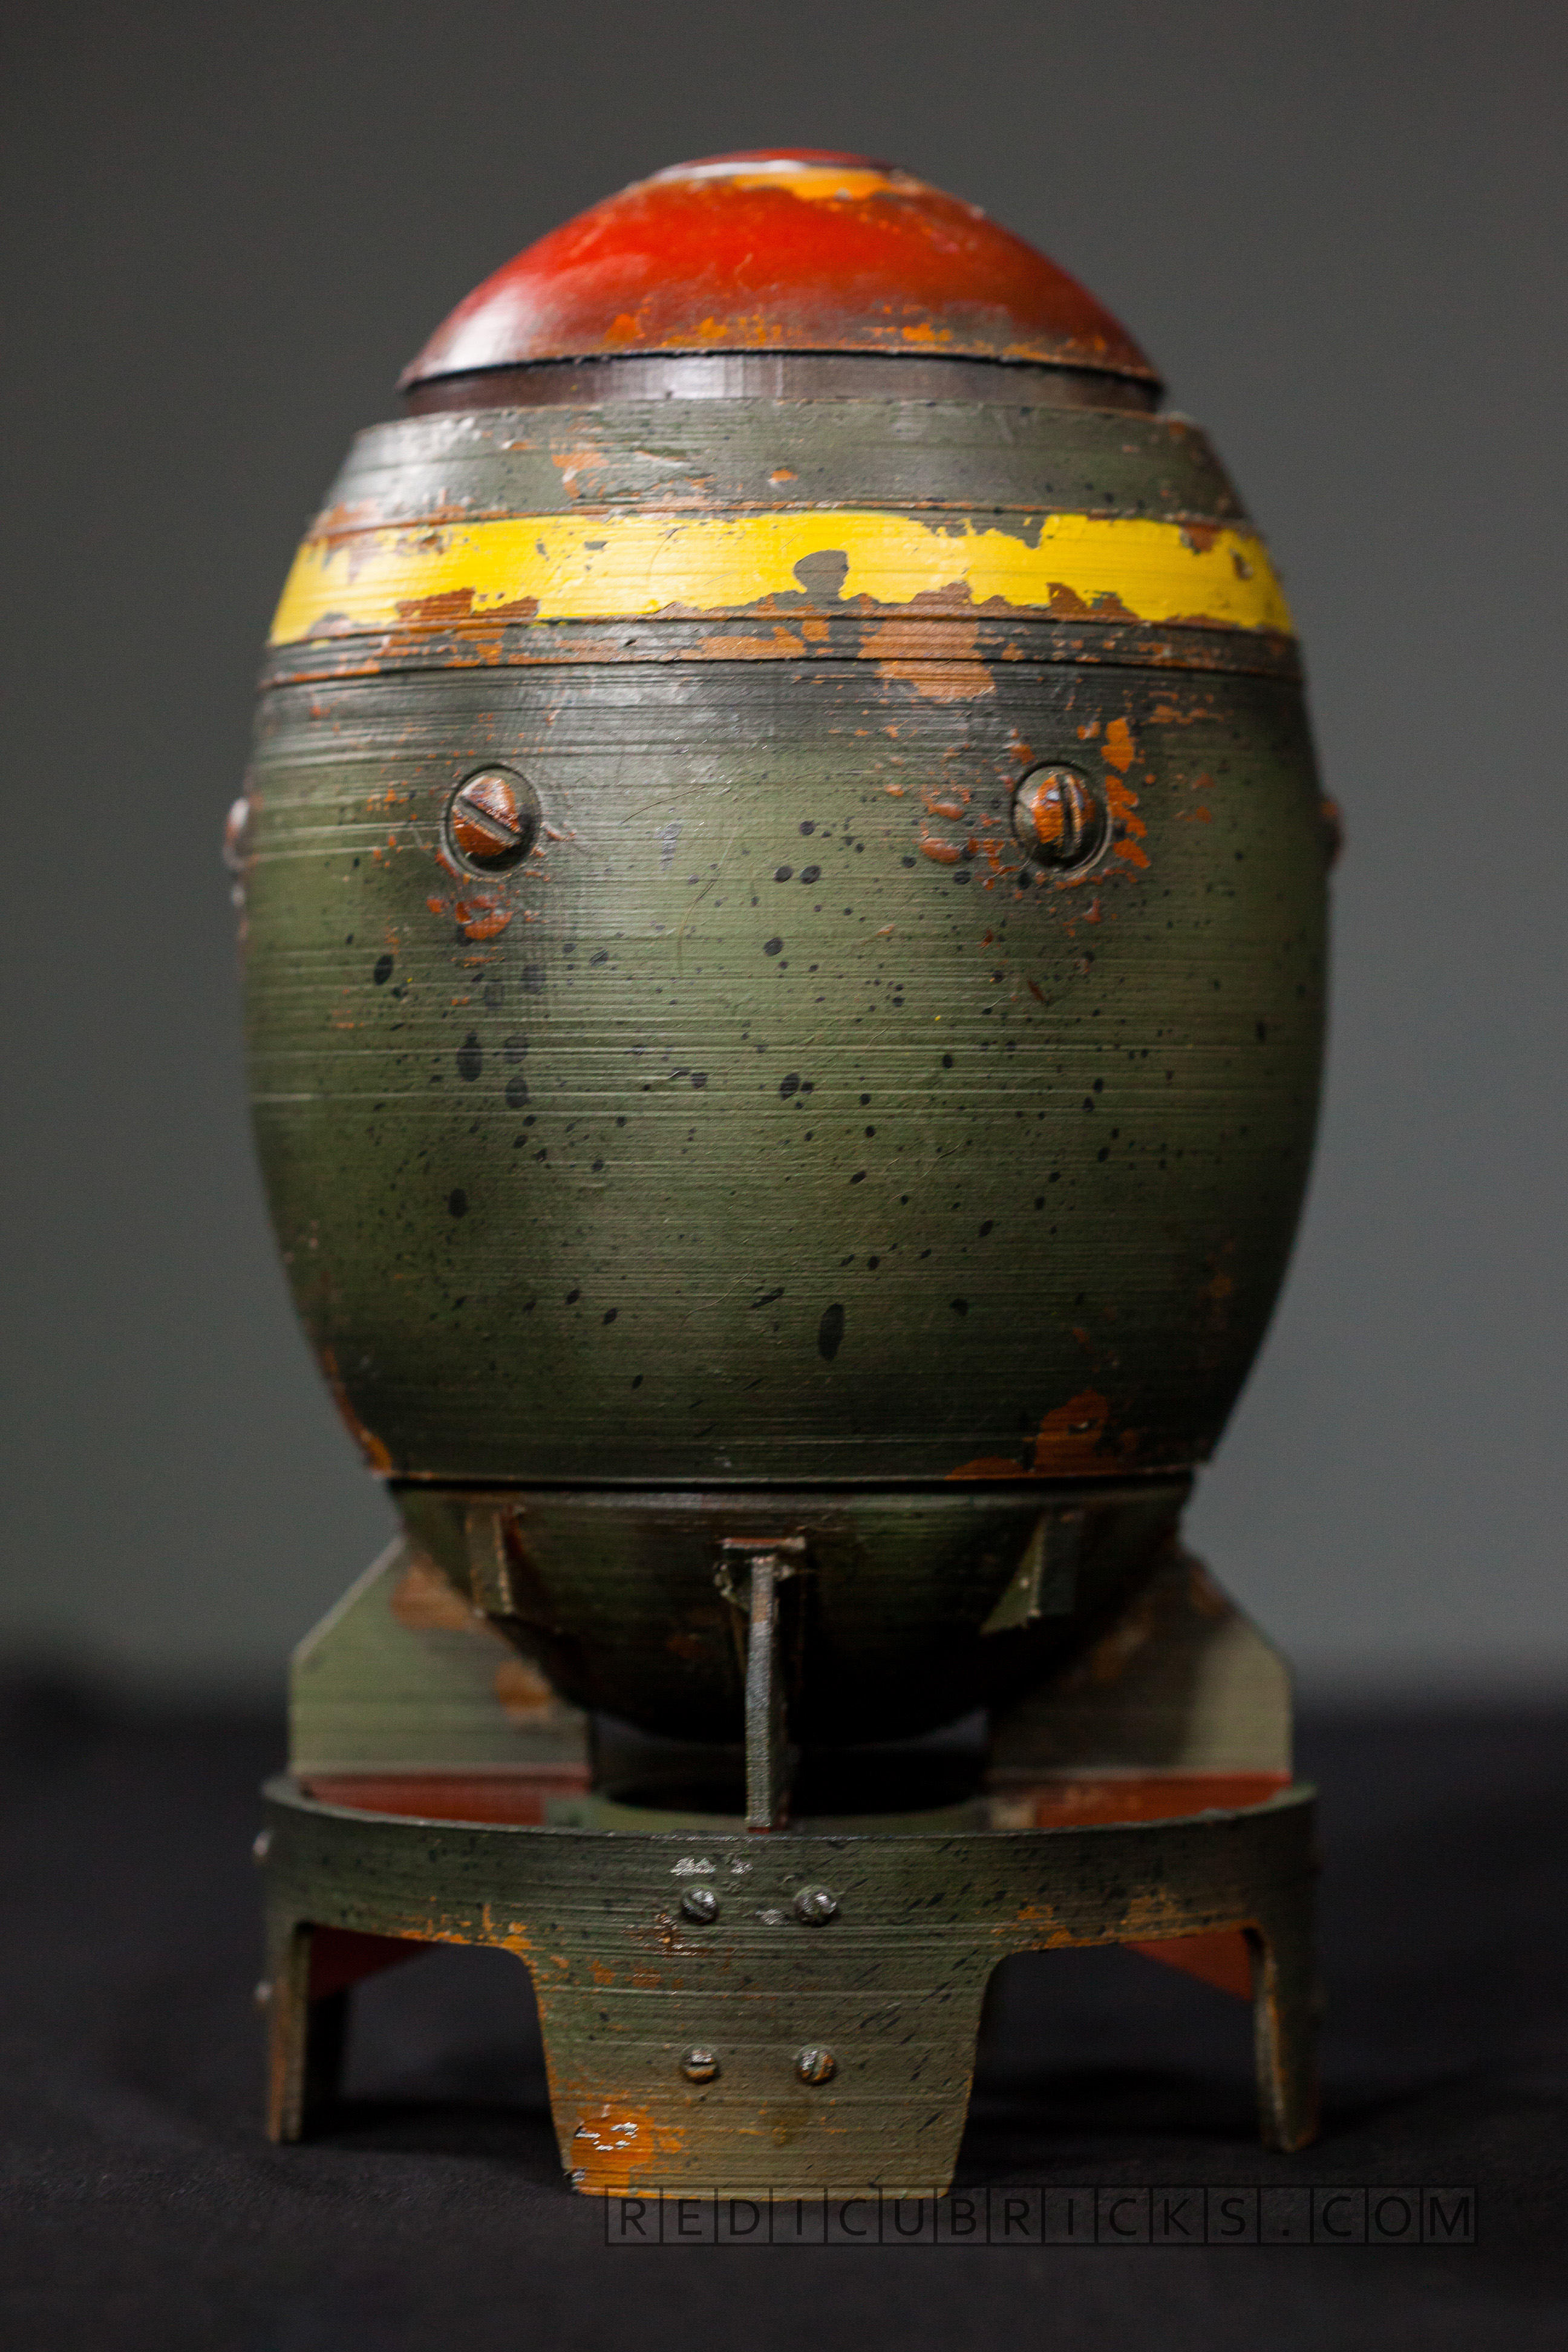
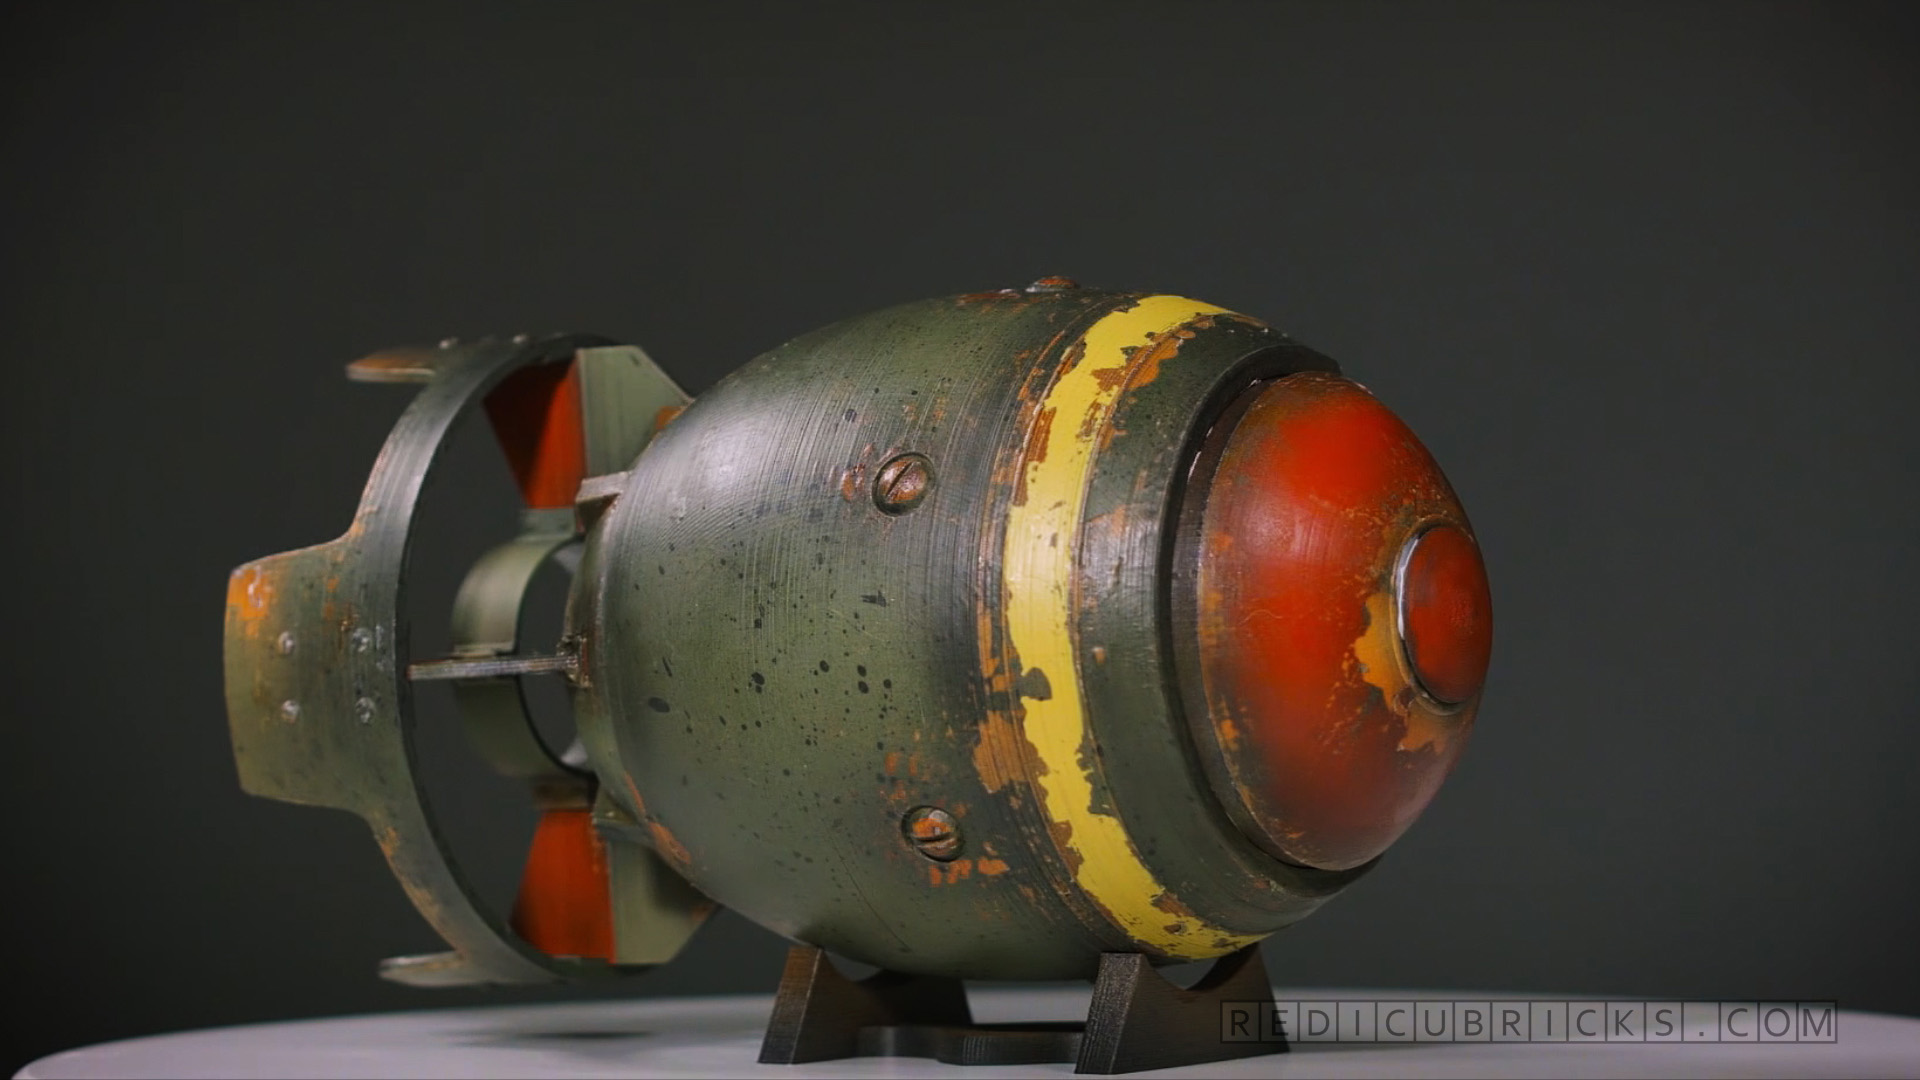
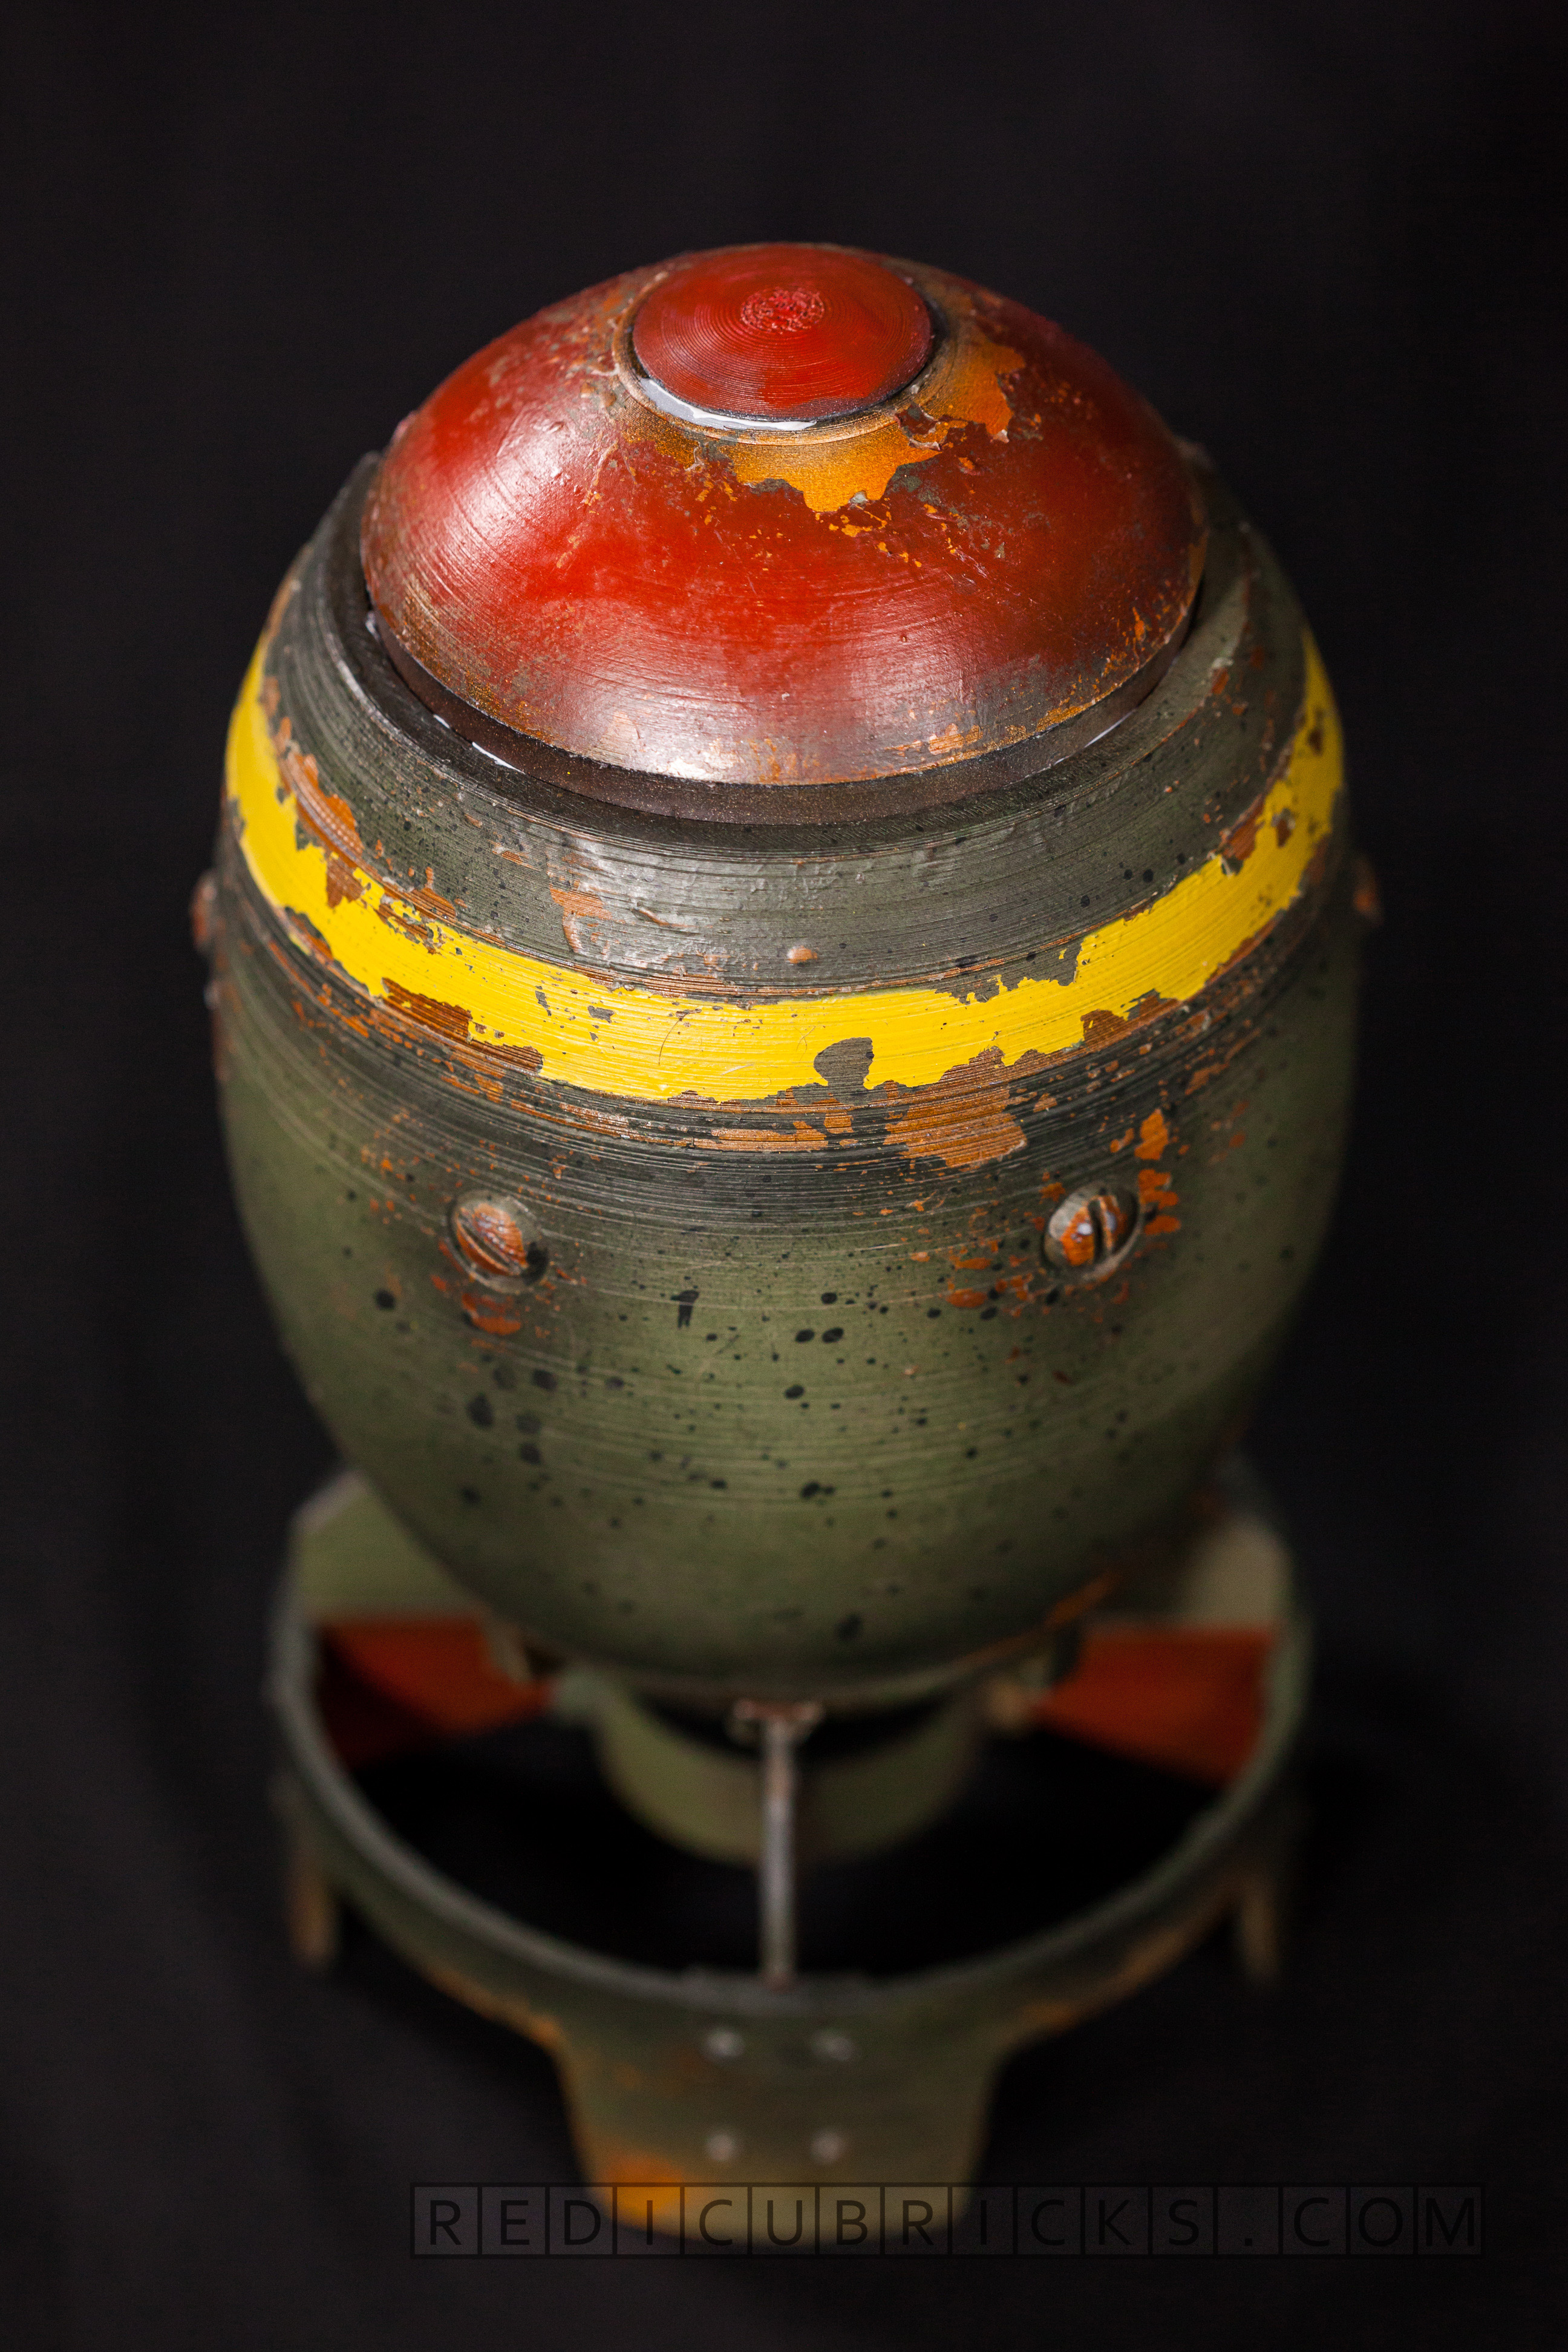
Fallout 4 recently came out. And right before that, Bethesda released Fallout anthology which came in a mini nuke. I thought this was awesome, but could never bring myself to play older games so I decided to make my own instead. One that’s closer to the Fallout 4 nuke. And here it is!
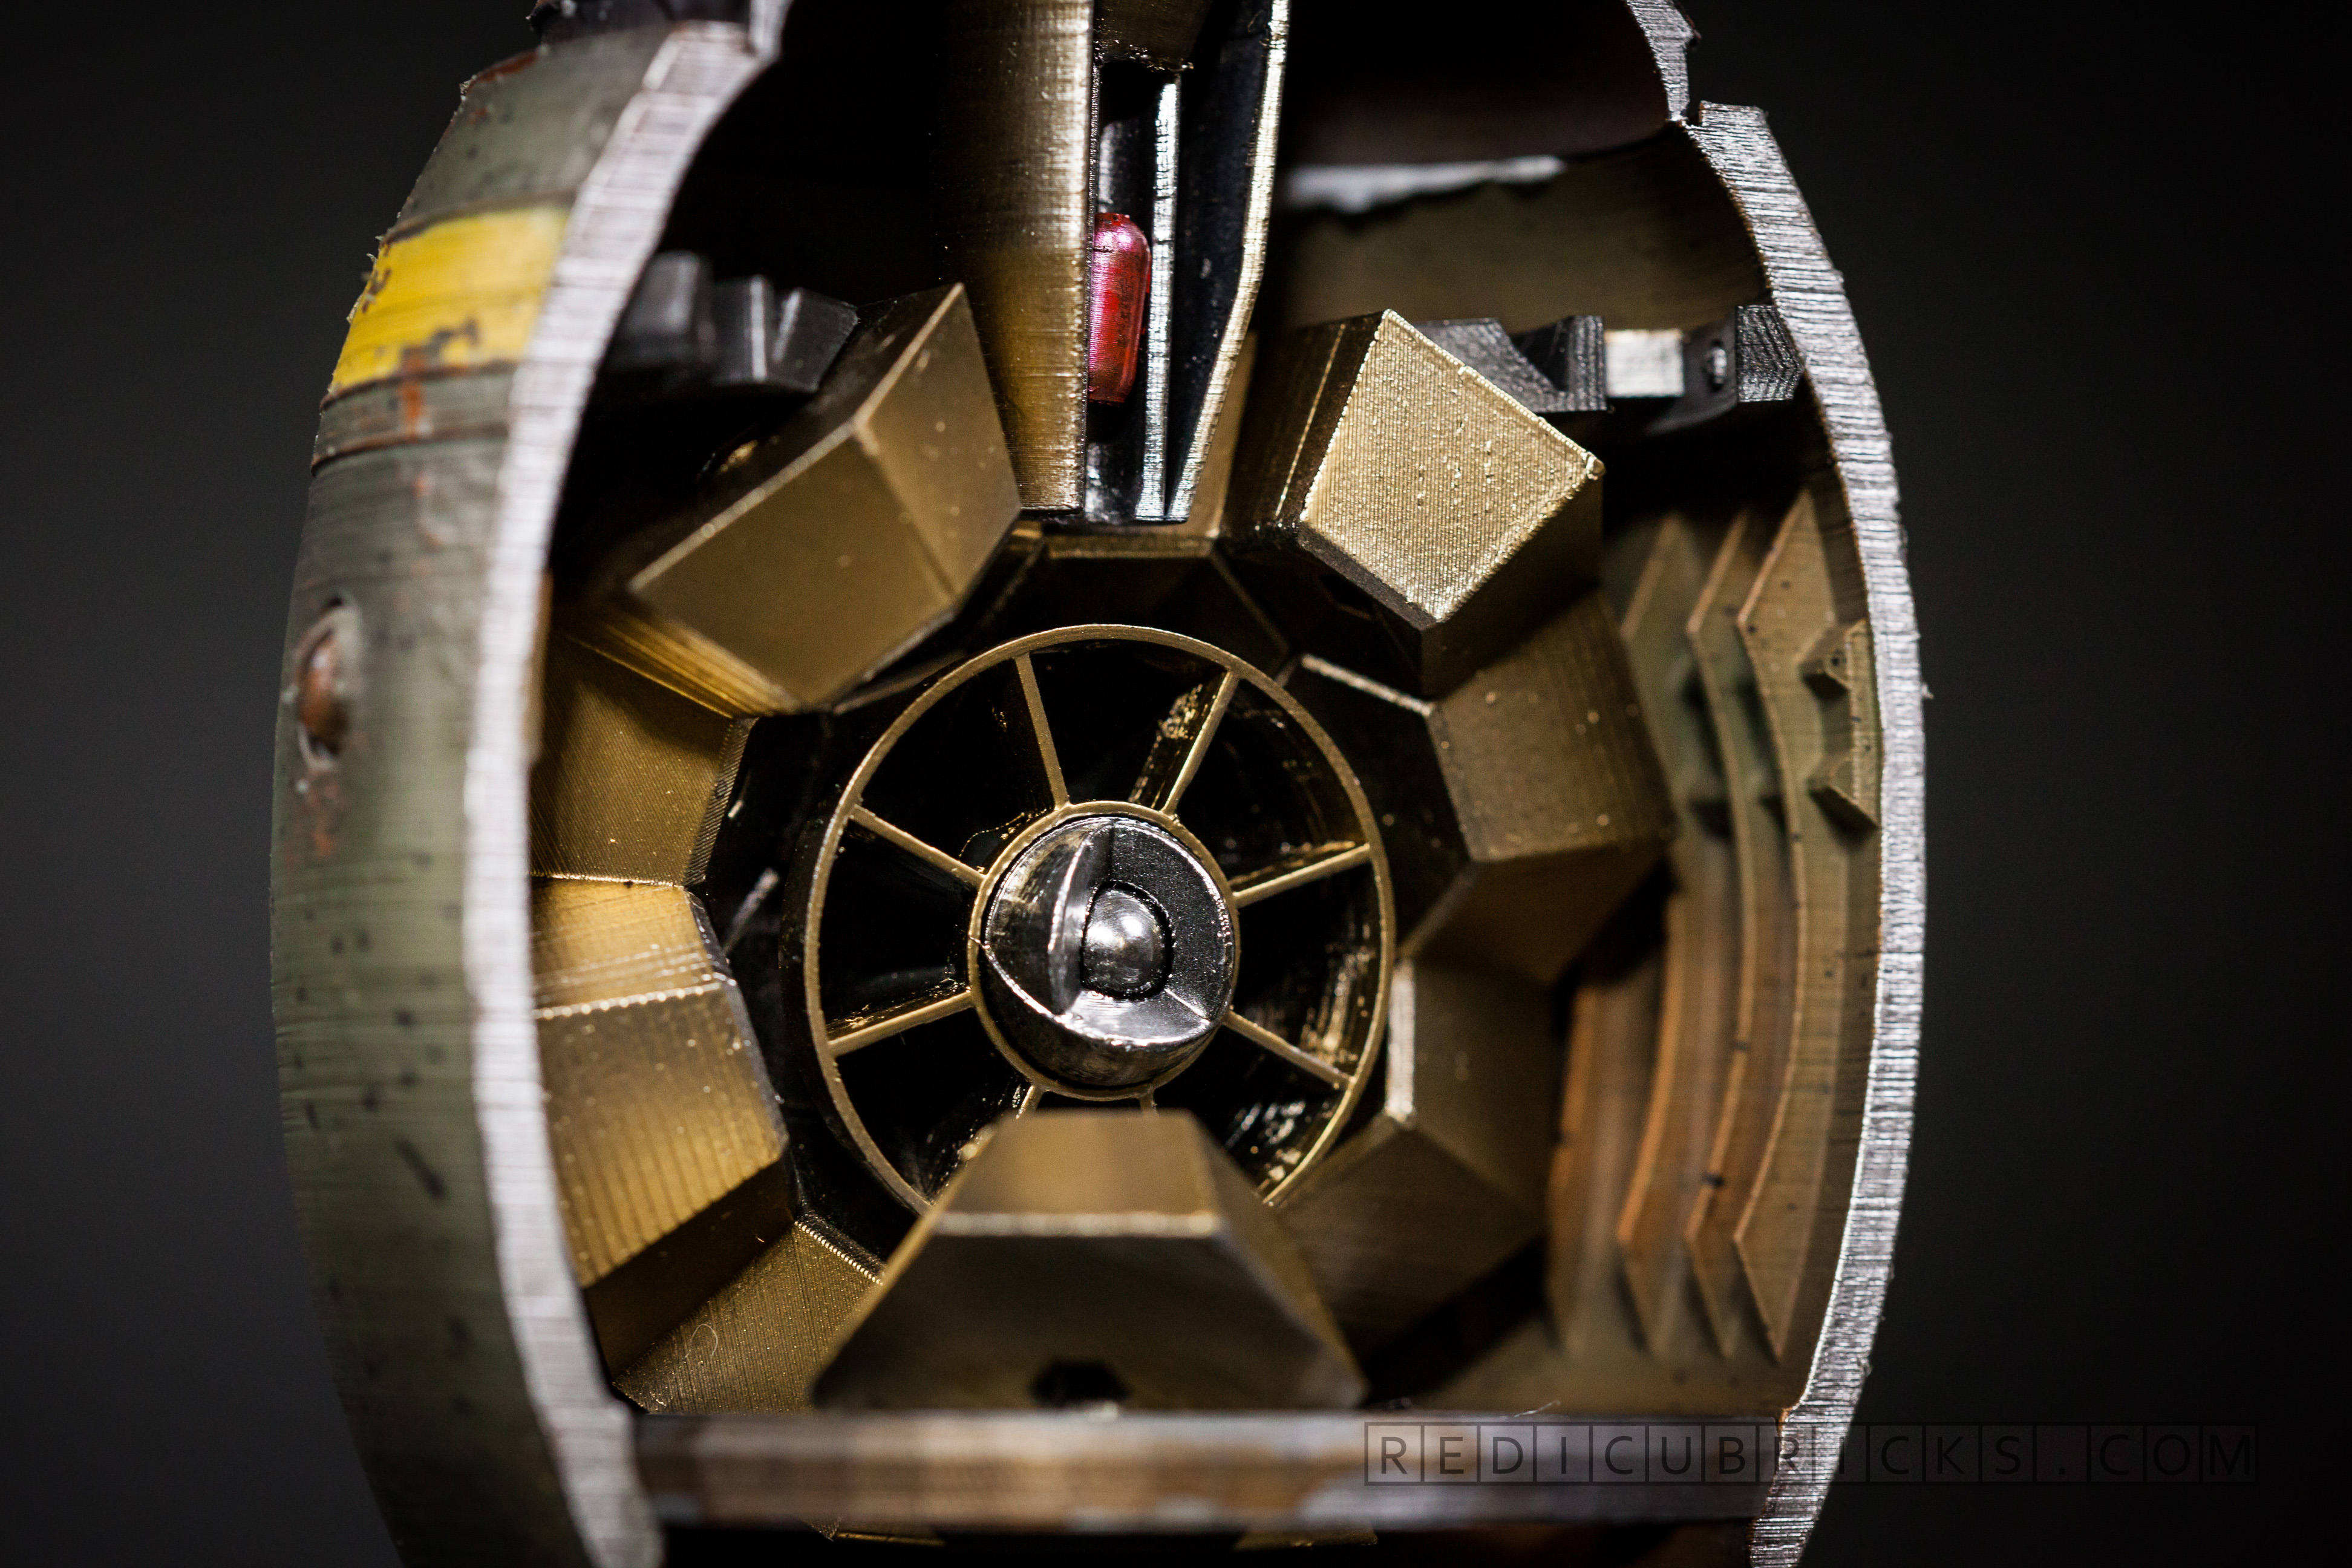
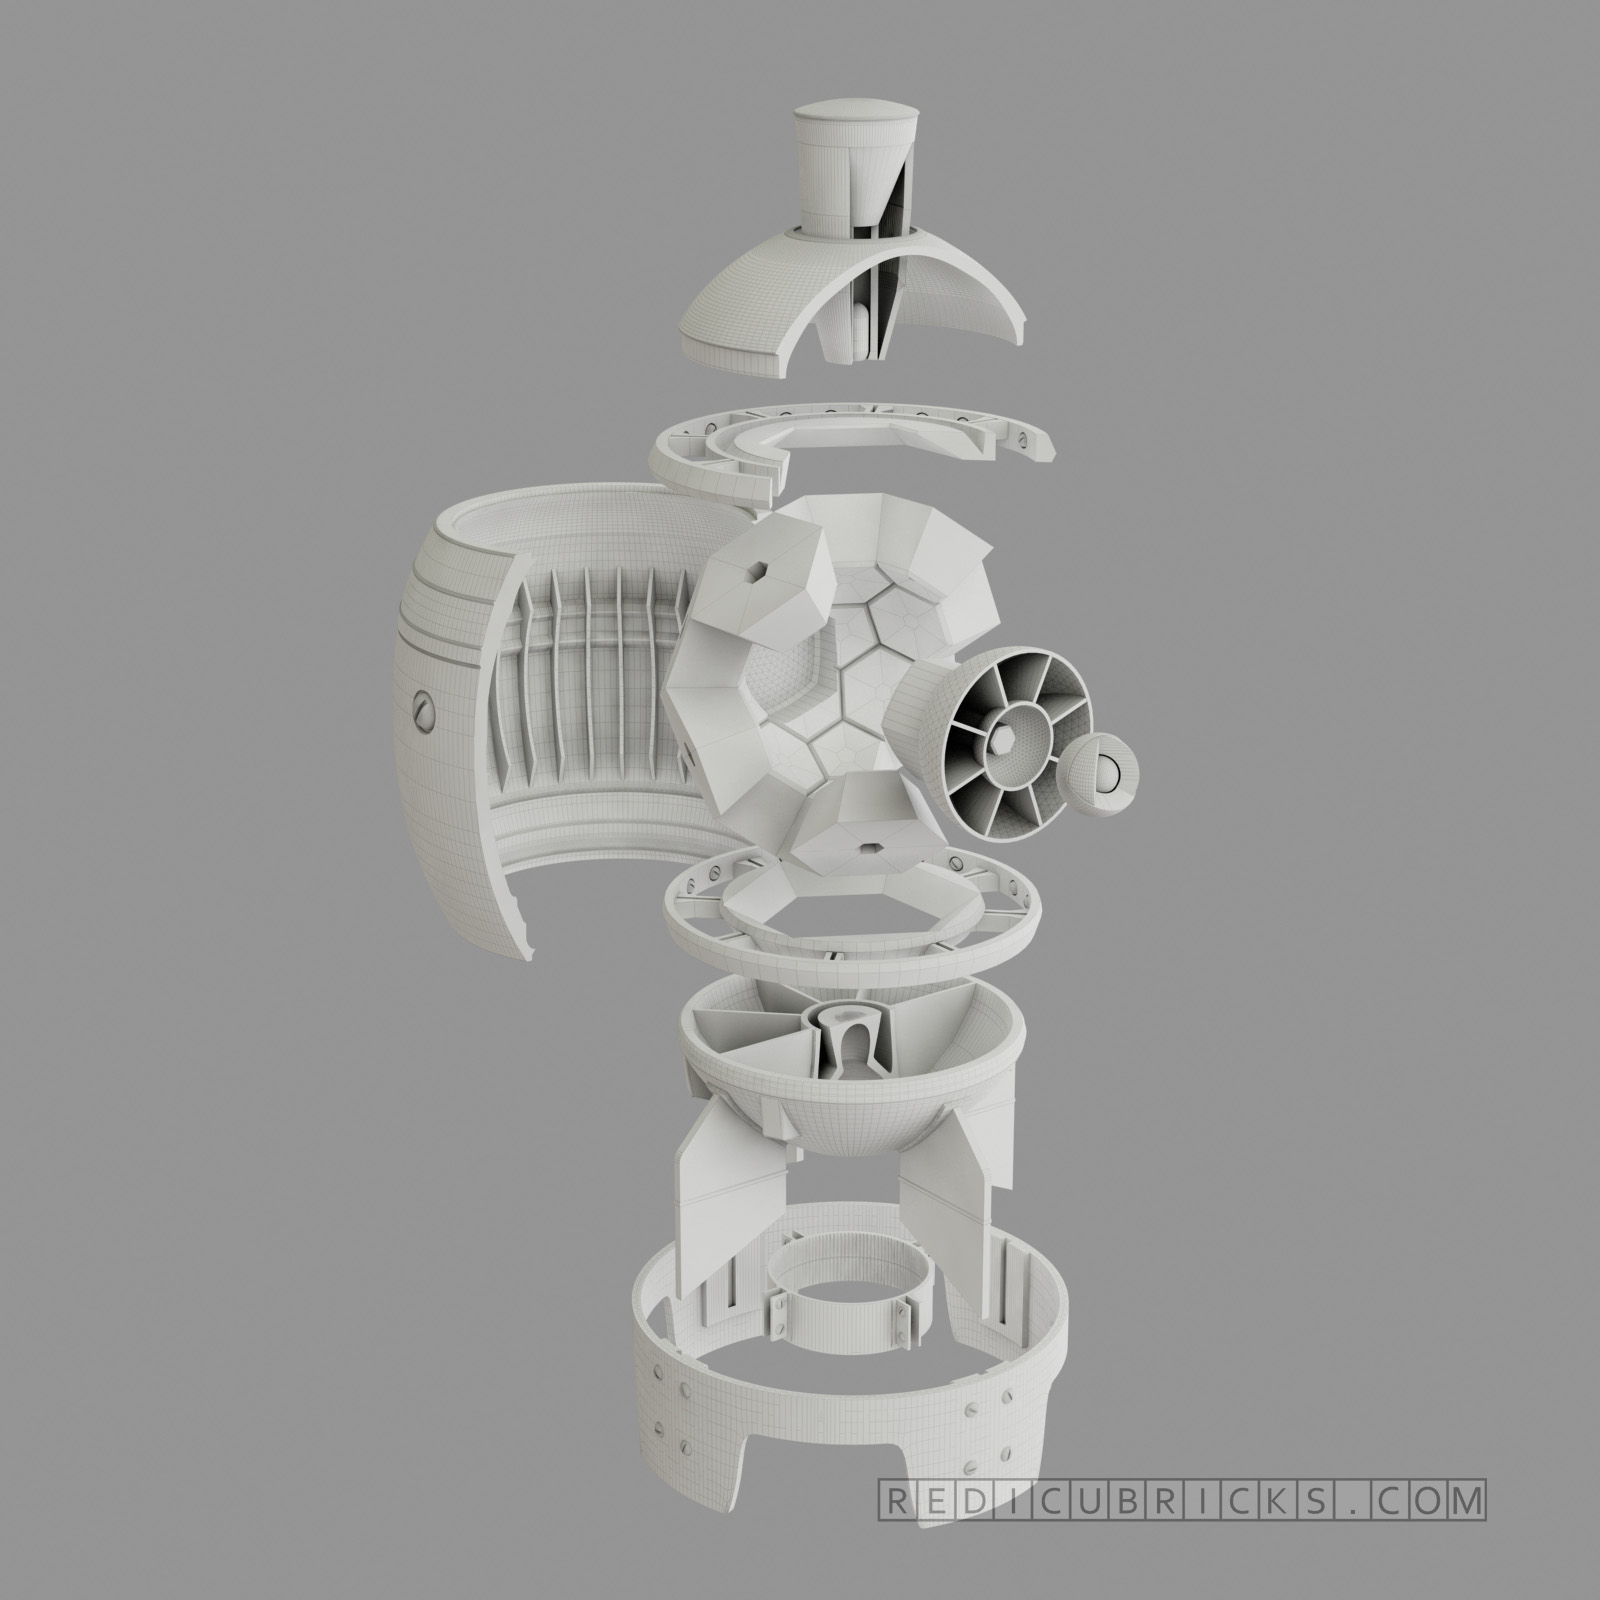
But here are Redicubricks, we like to overcomplicate things, and those internal cutout diagrams always intrigued me, so I designed internals to go with it.
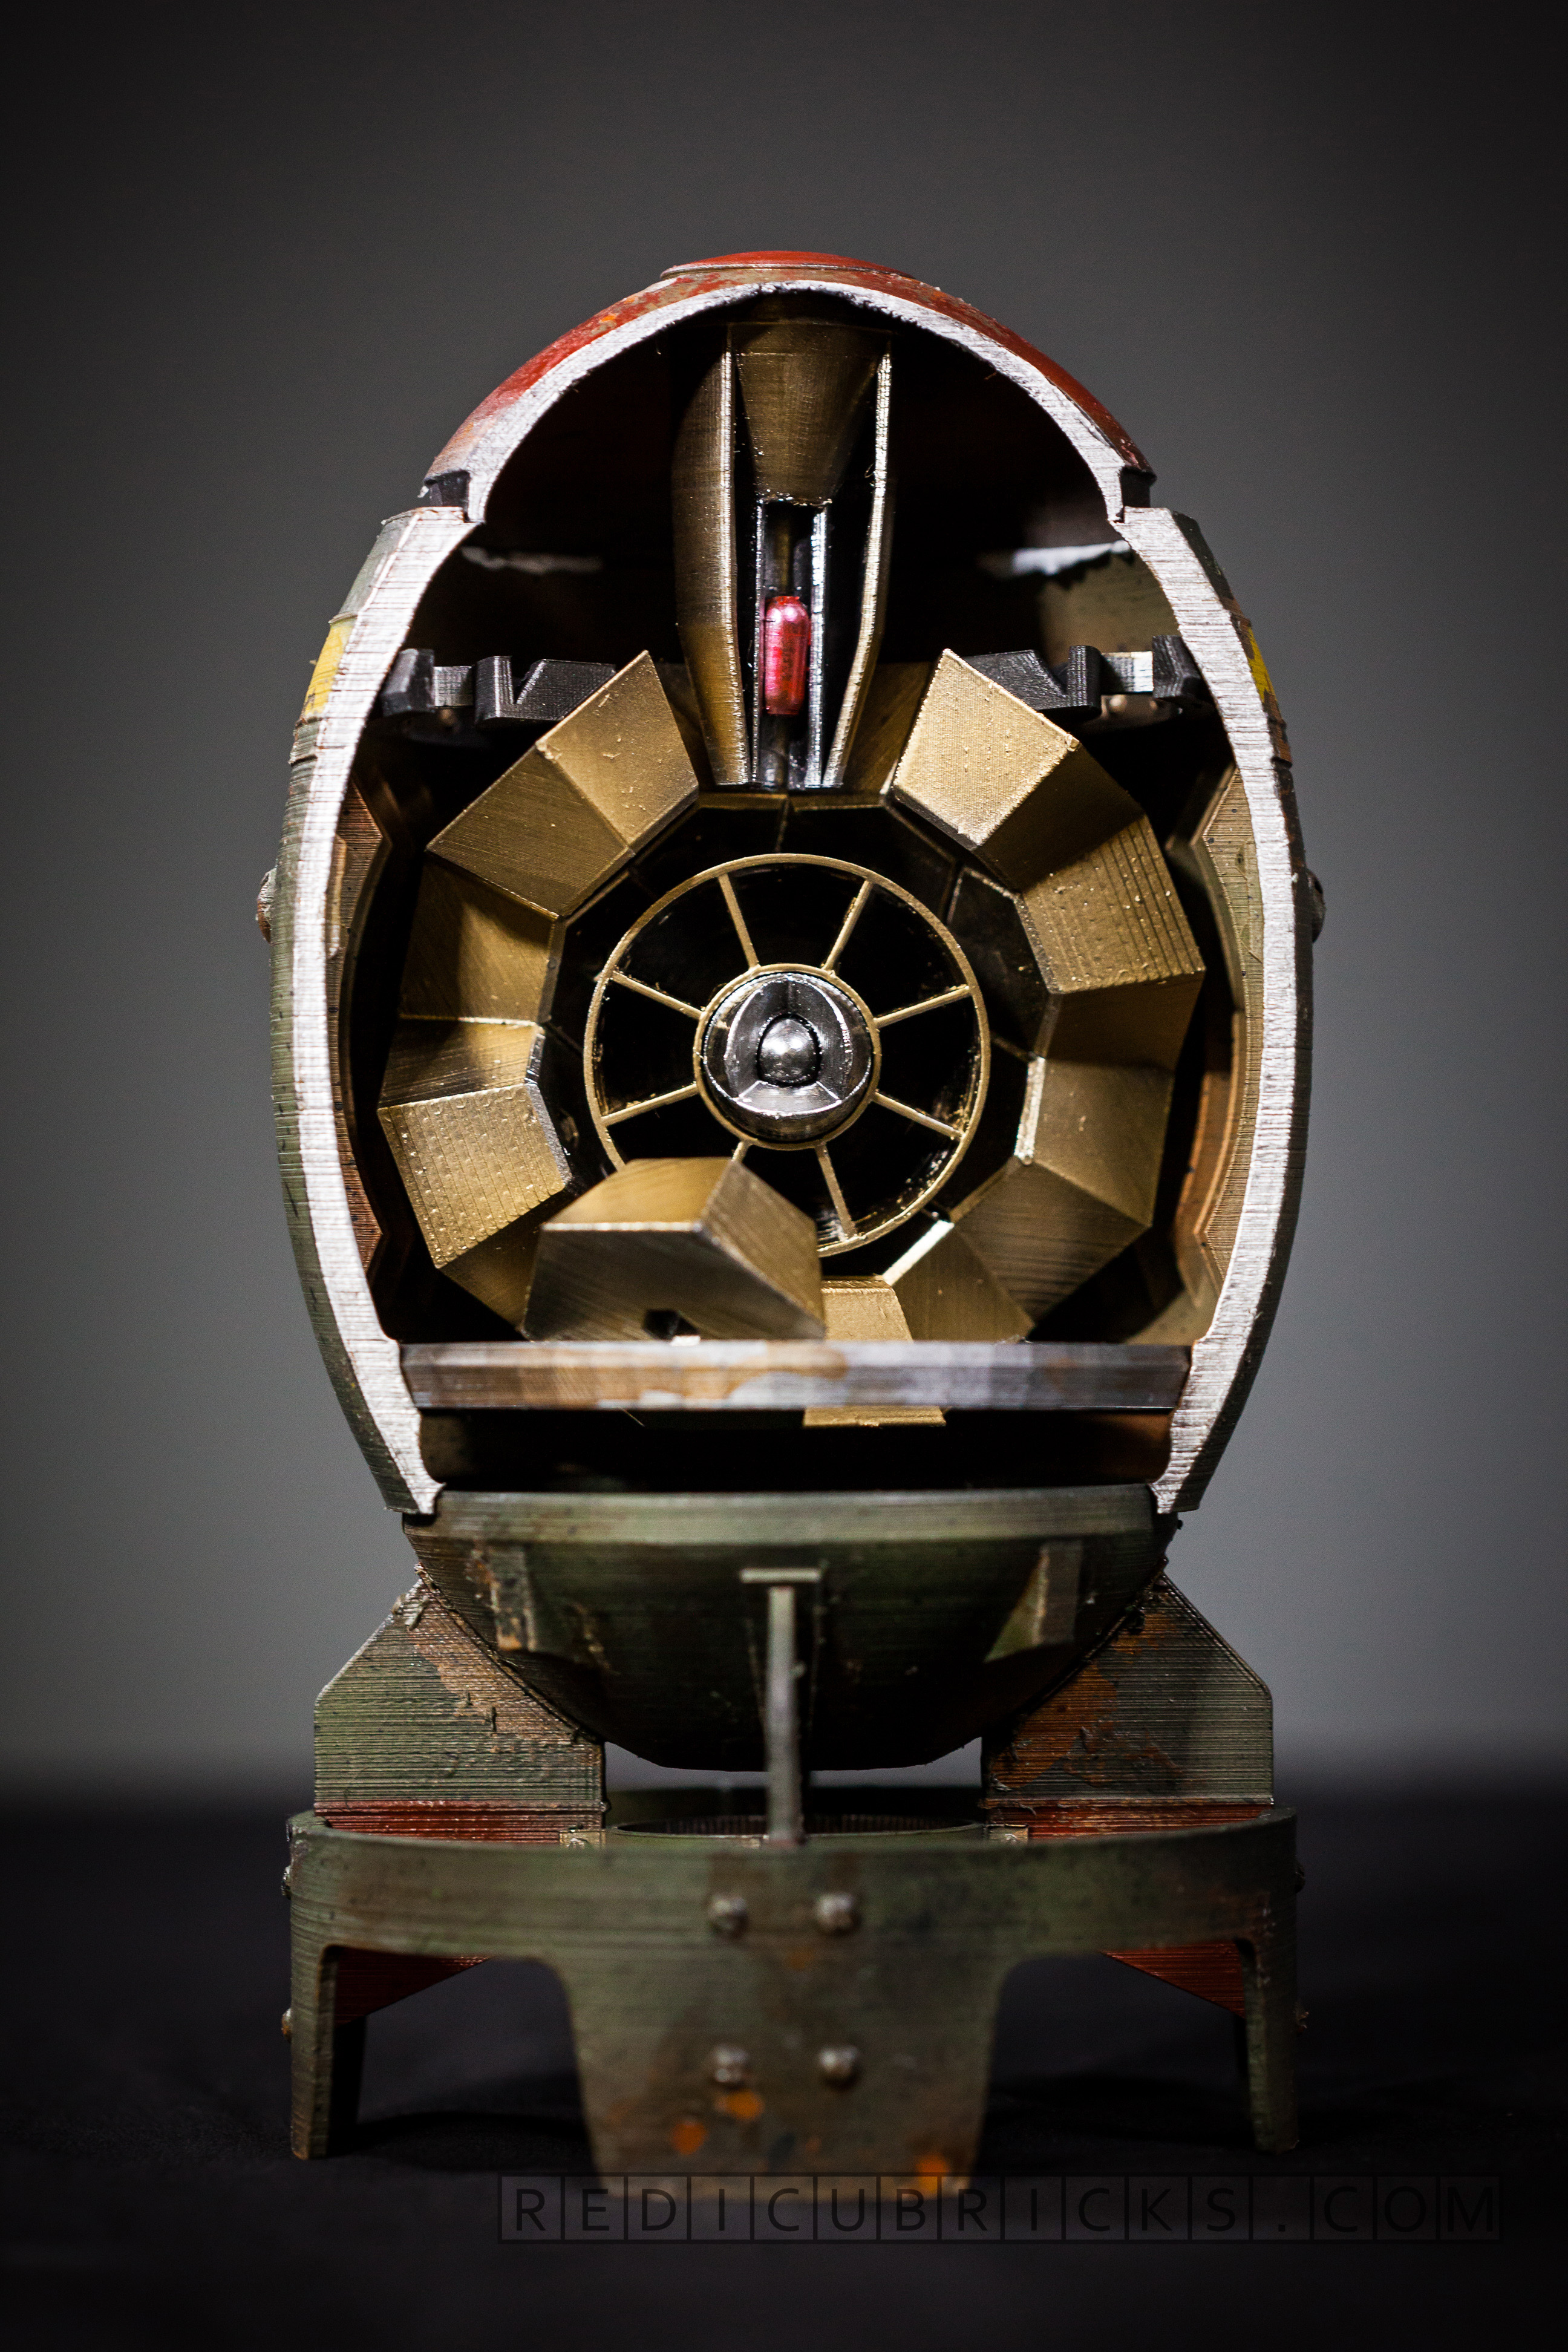
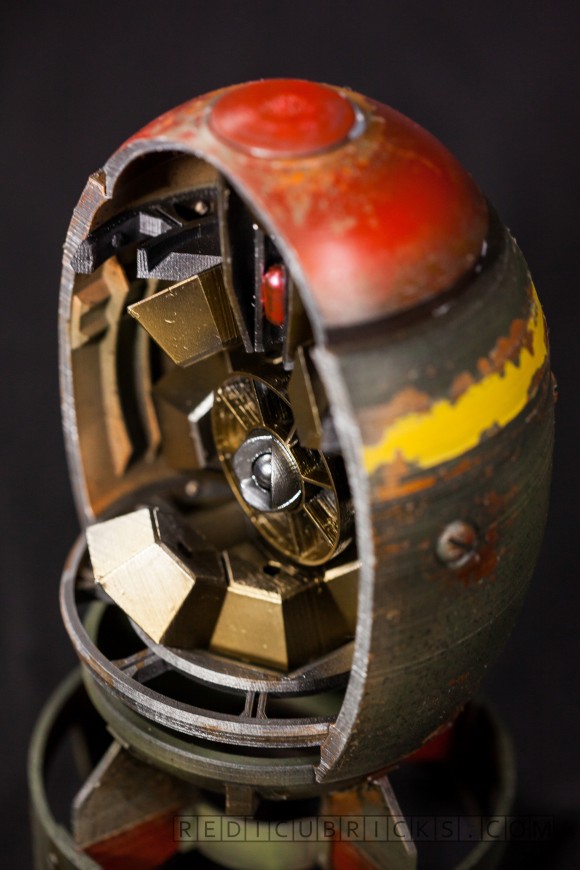
Cut roughly at 3/4 all the way through You can display it both ways if you like the whole bomb look, or the cutout look.
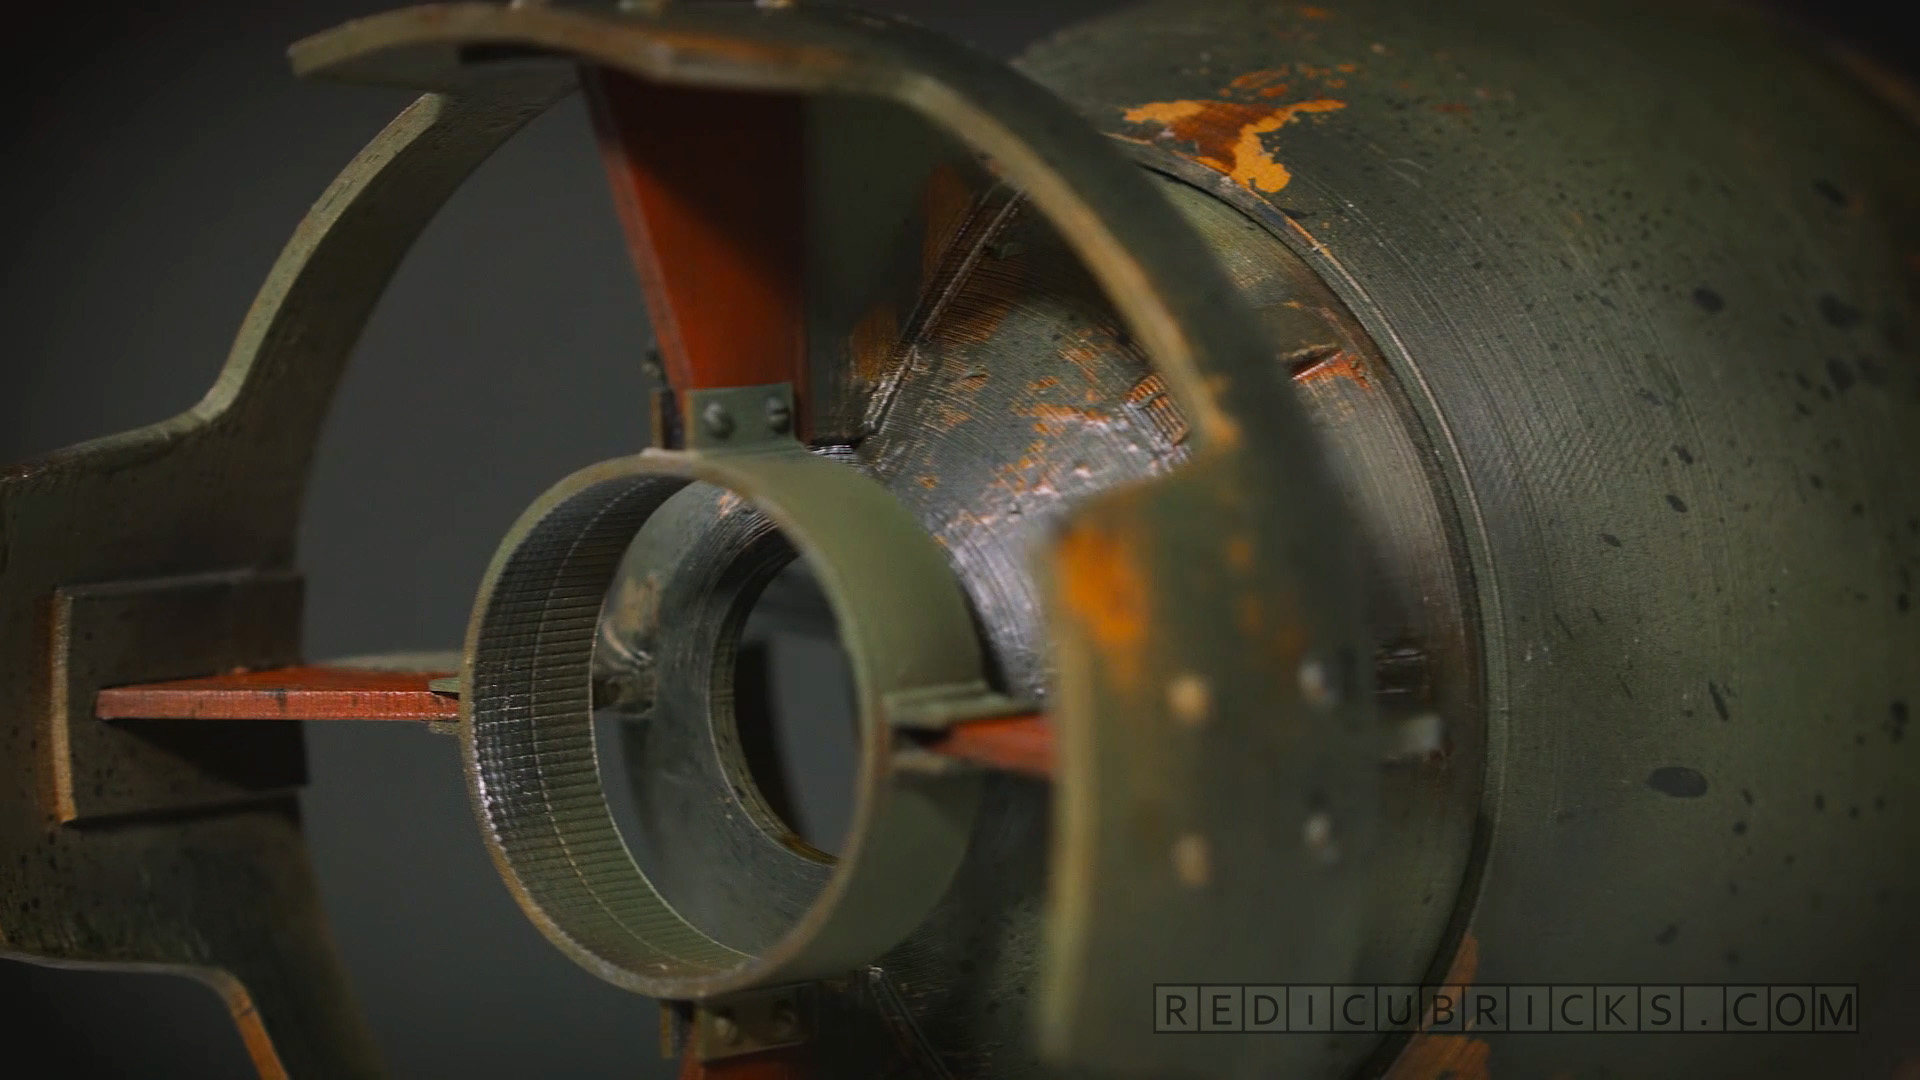
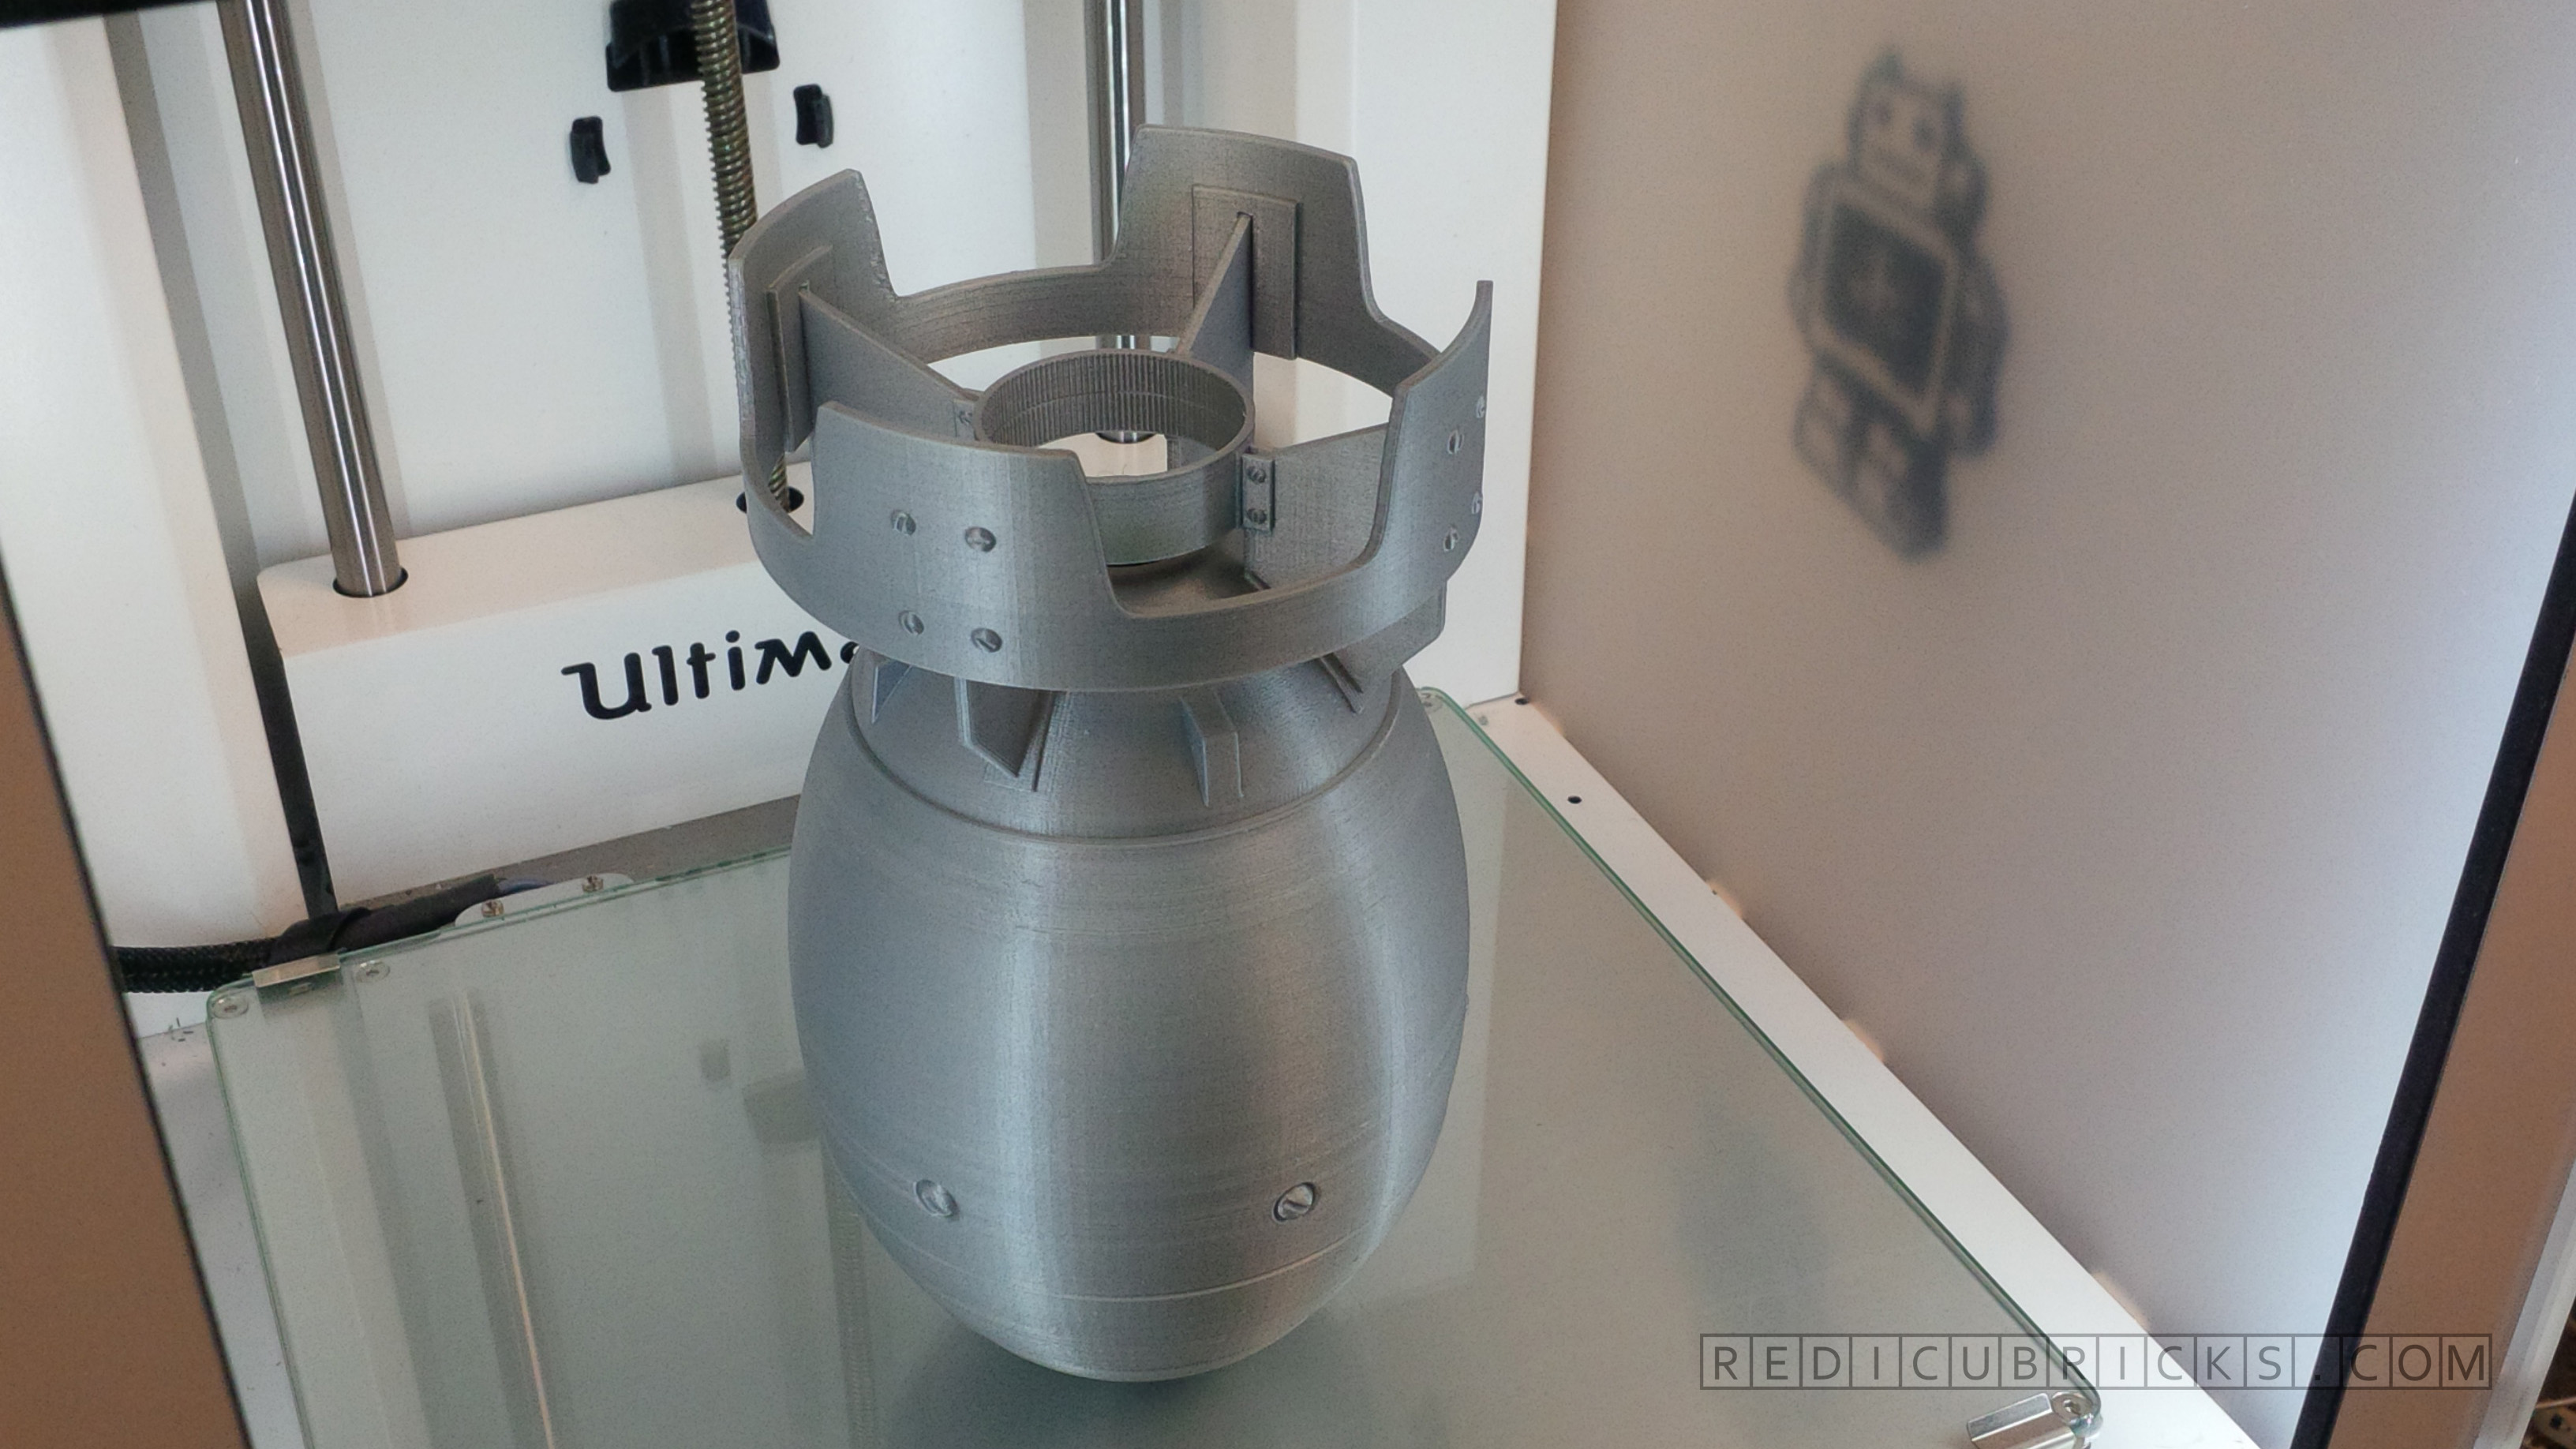
Snap on fins with integrated printed on screws. The rings help stabilize and tighten the fins.
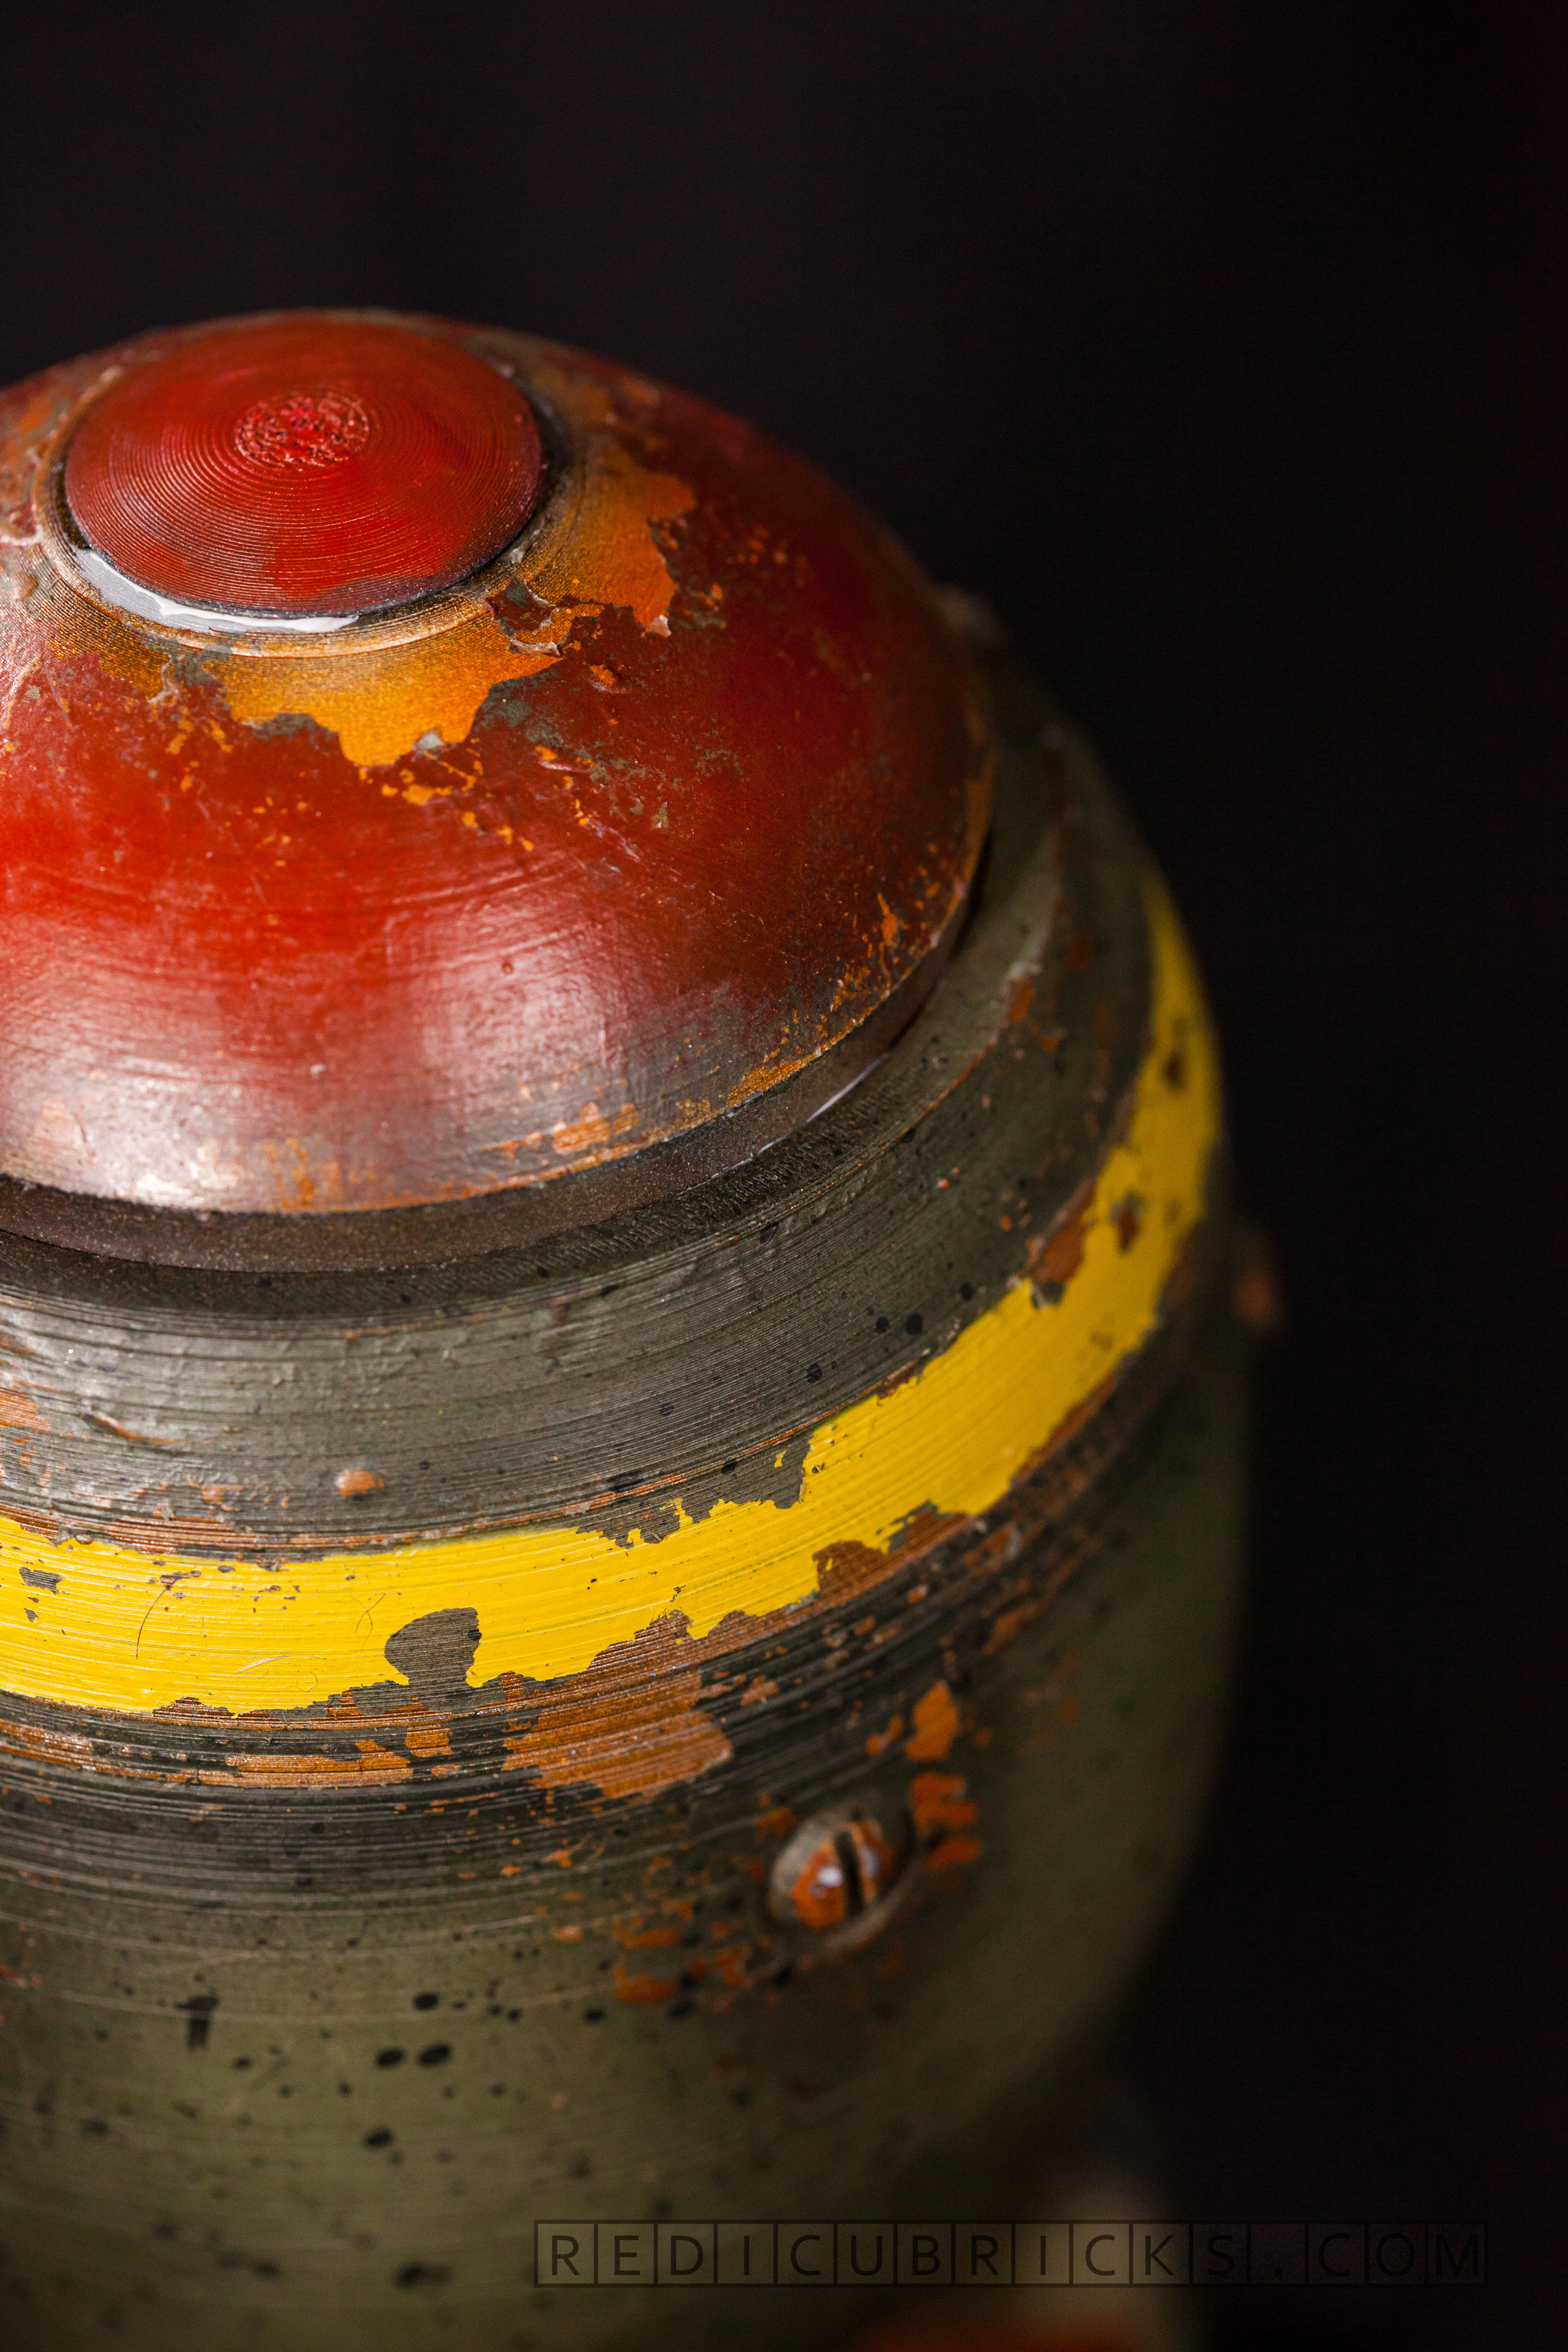
The tip is printed at a finer layer height (60 microns) on the Ultimaker 2GO so the steeper angle results in less visual stepping. The main body is printed at a lower resolution 120 microns for speed. I also wanted the lines to show through as part of the roughly manufactured look that is representative of the fallout universe.
The roughness of the ‘cut edge’ caused by printing lines is accentuated with metallic paint so it looks like it was cut through purposefully to show the insides. The polonium core (silver sphere) is printed with a gap between the outer and inner sphere so the thick gloss primer will not pool at the edges creating a joint between the outer and inner sphere.
Paint chipping created with a masking fluid which acts as both the chipping mechnism for the paint, and also causes slight bumps which looks like rusting under the paint.
The nuclear core sits on cylindrical spacers that center the unit in place. Because of how precise 3D printing is at this scale, it is easy to design precisely floating parts. The slight indentation of the shell wall is enough to hold the spacer in place. It also uses less material.
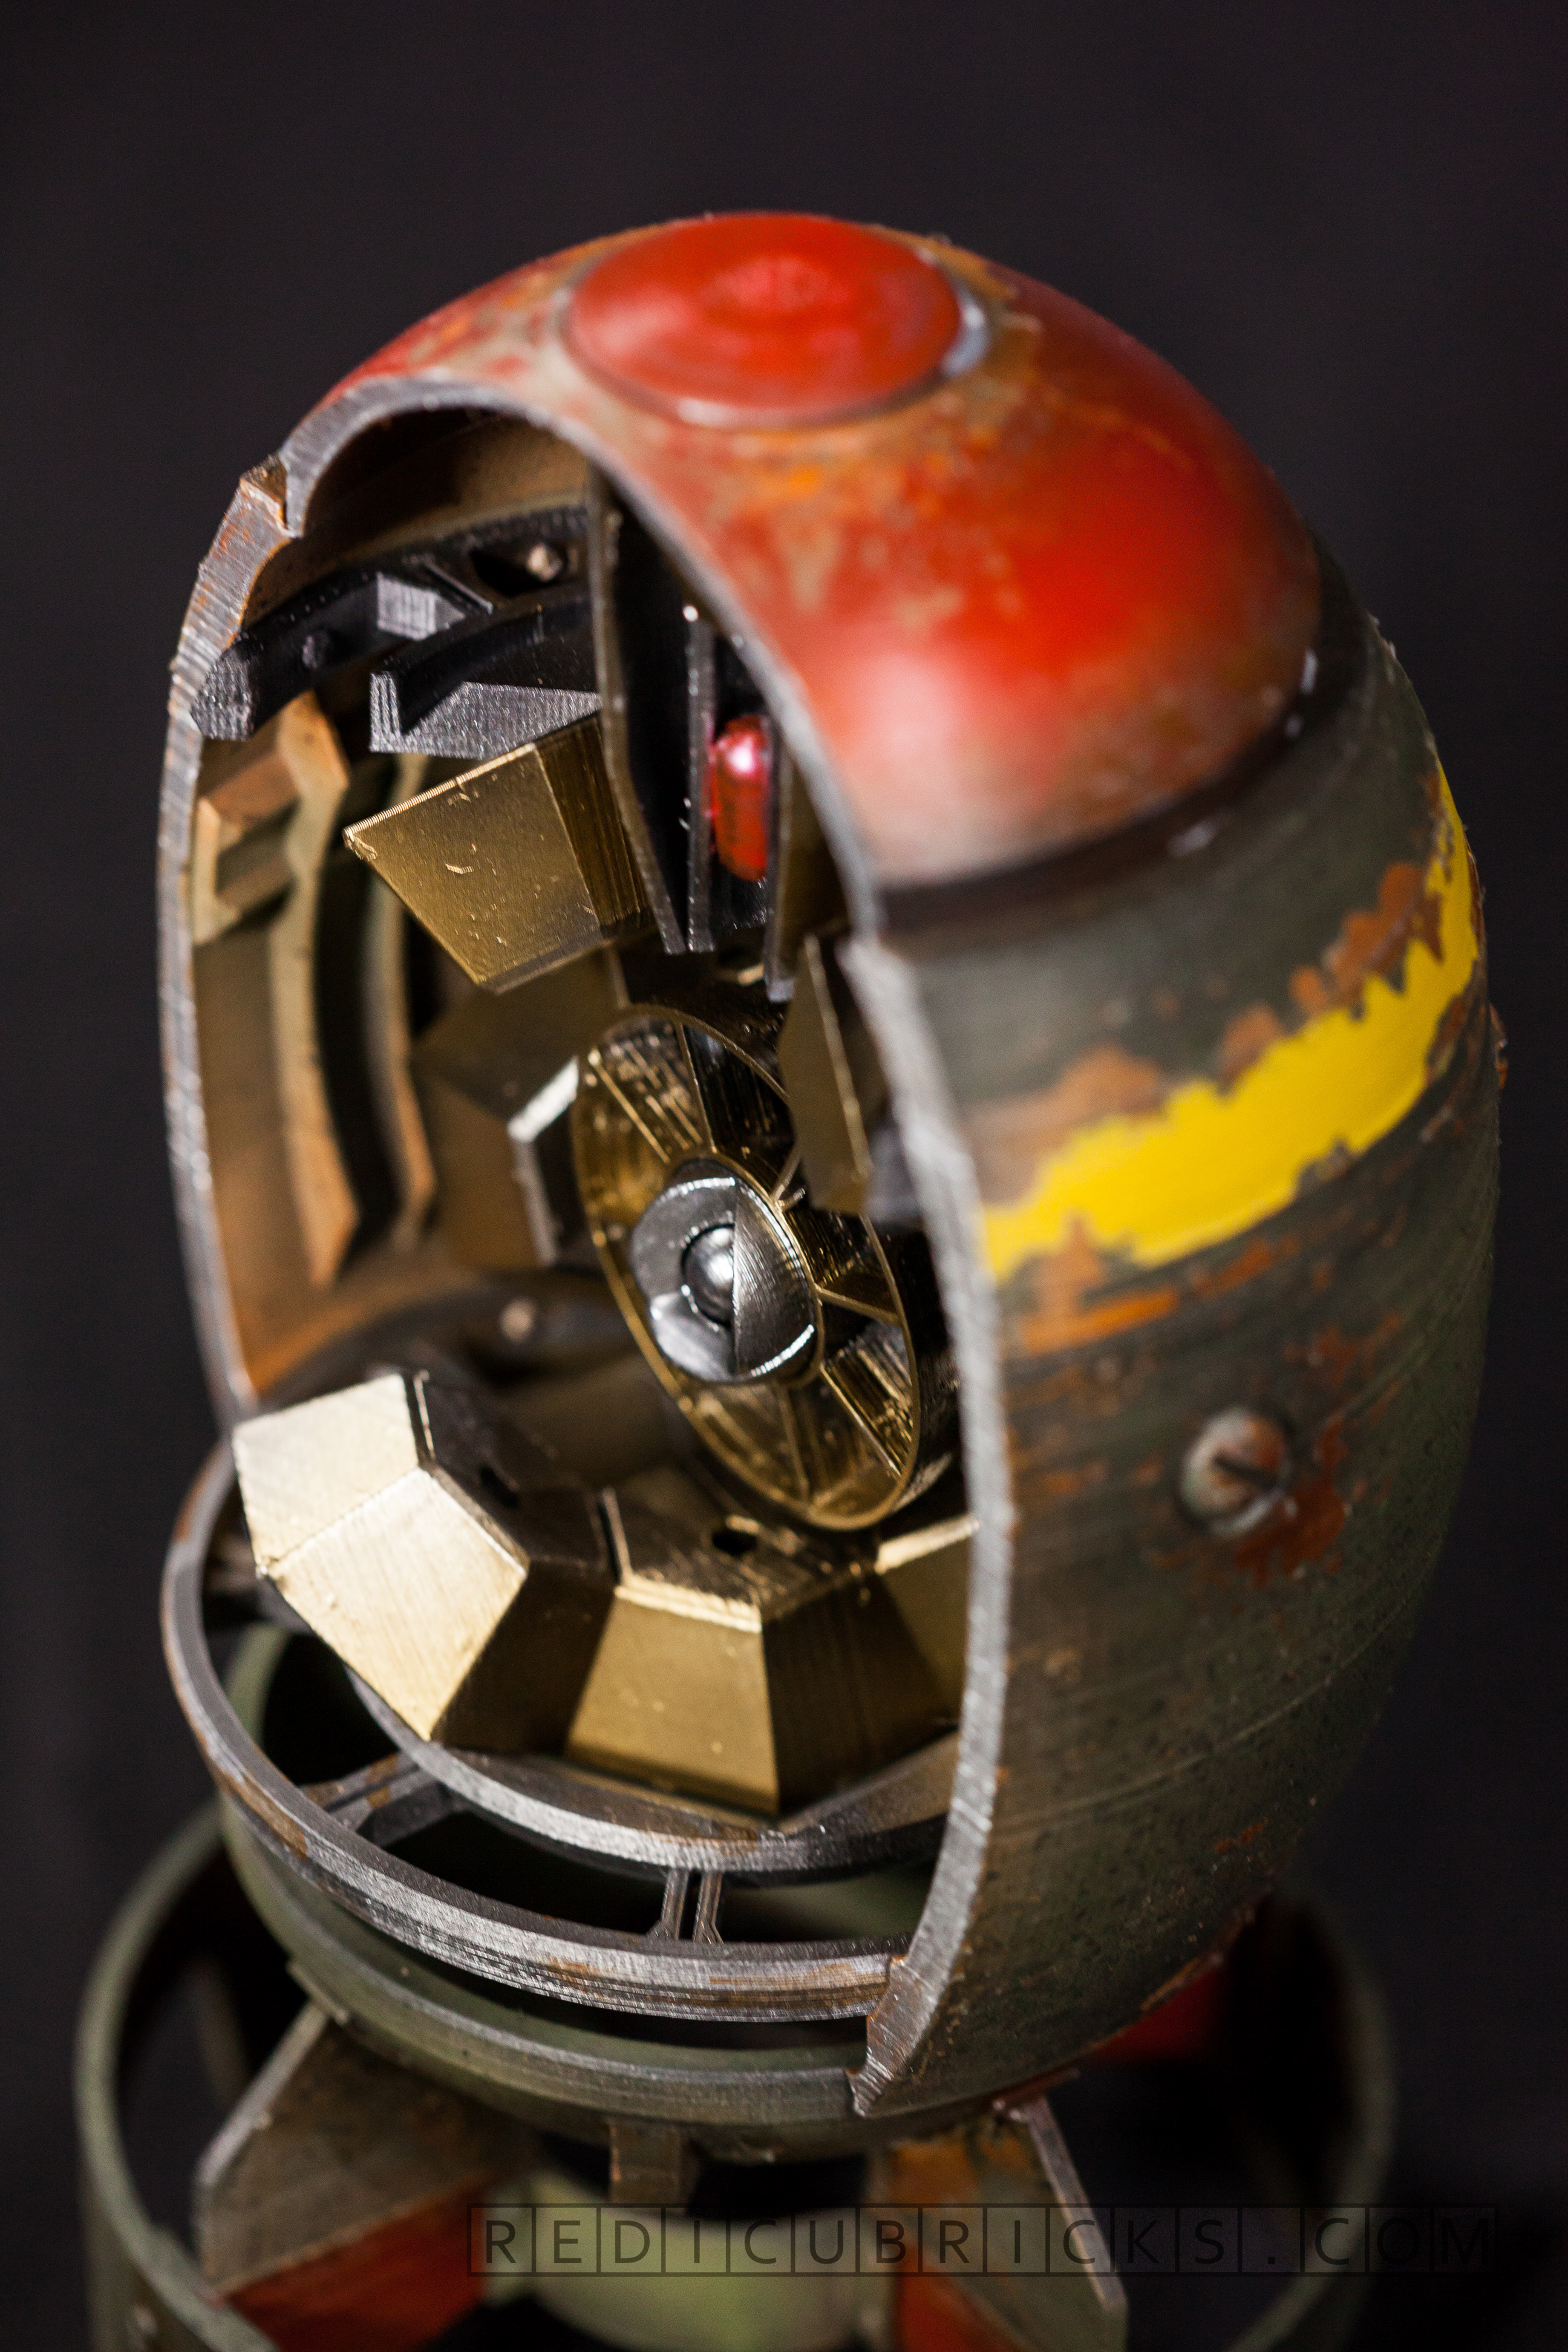
The paint on the exterior is acrylic for the matte/worn look. The metallic parts are Laquer paints for extra shiny finish.
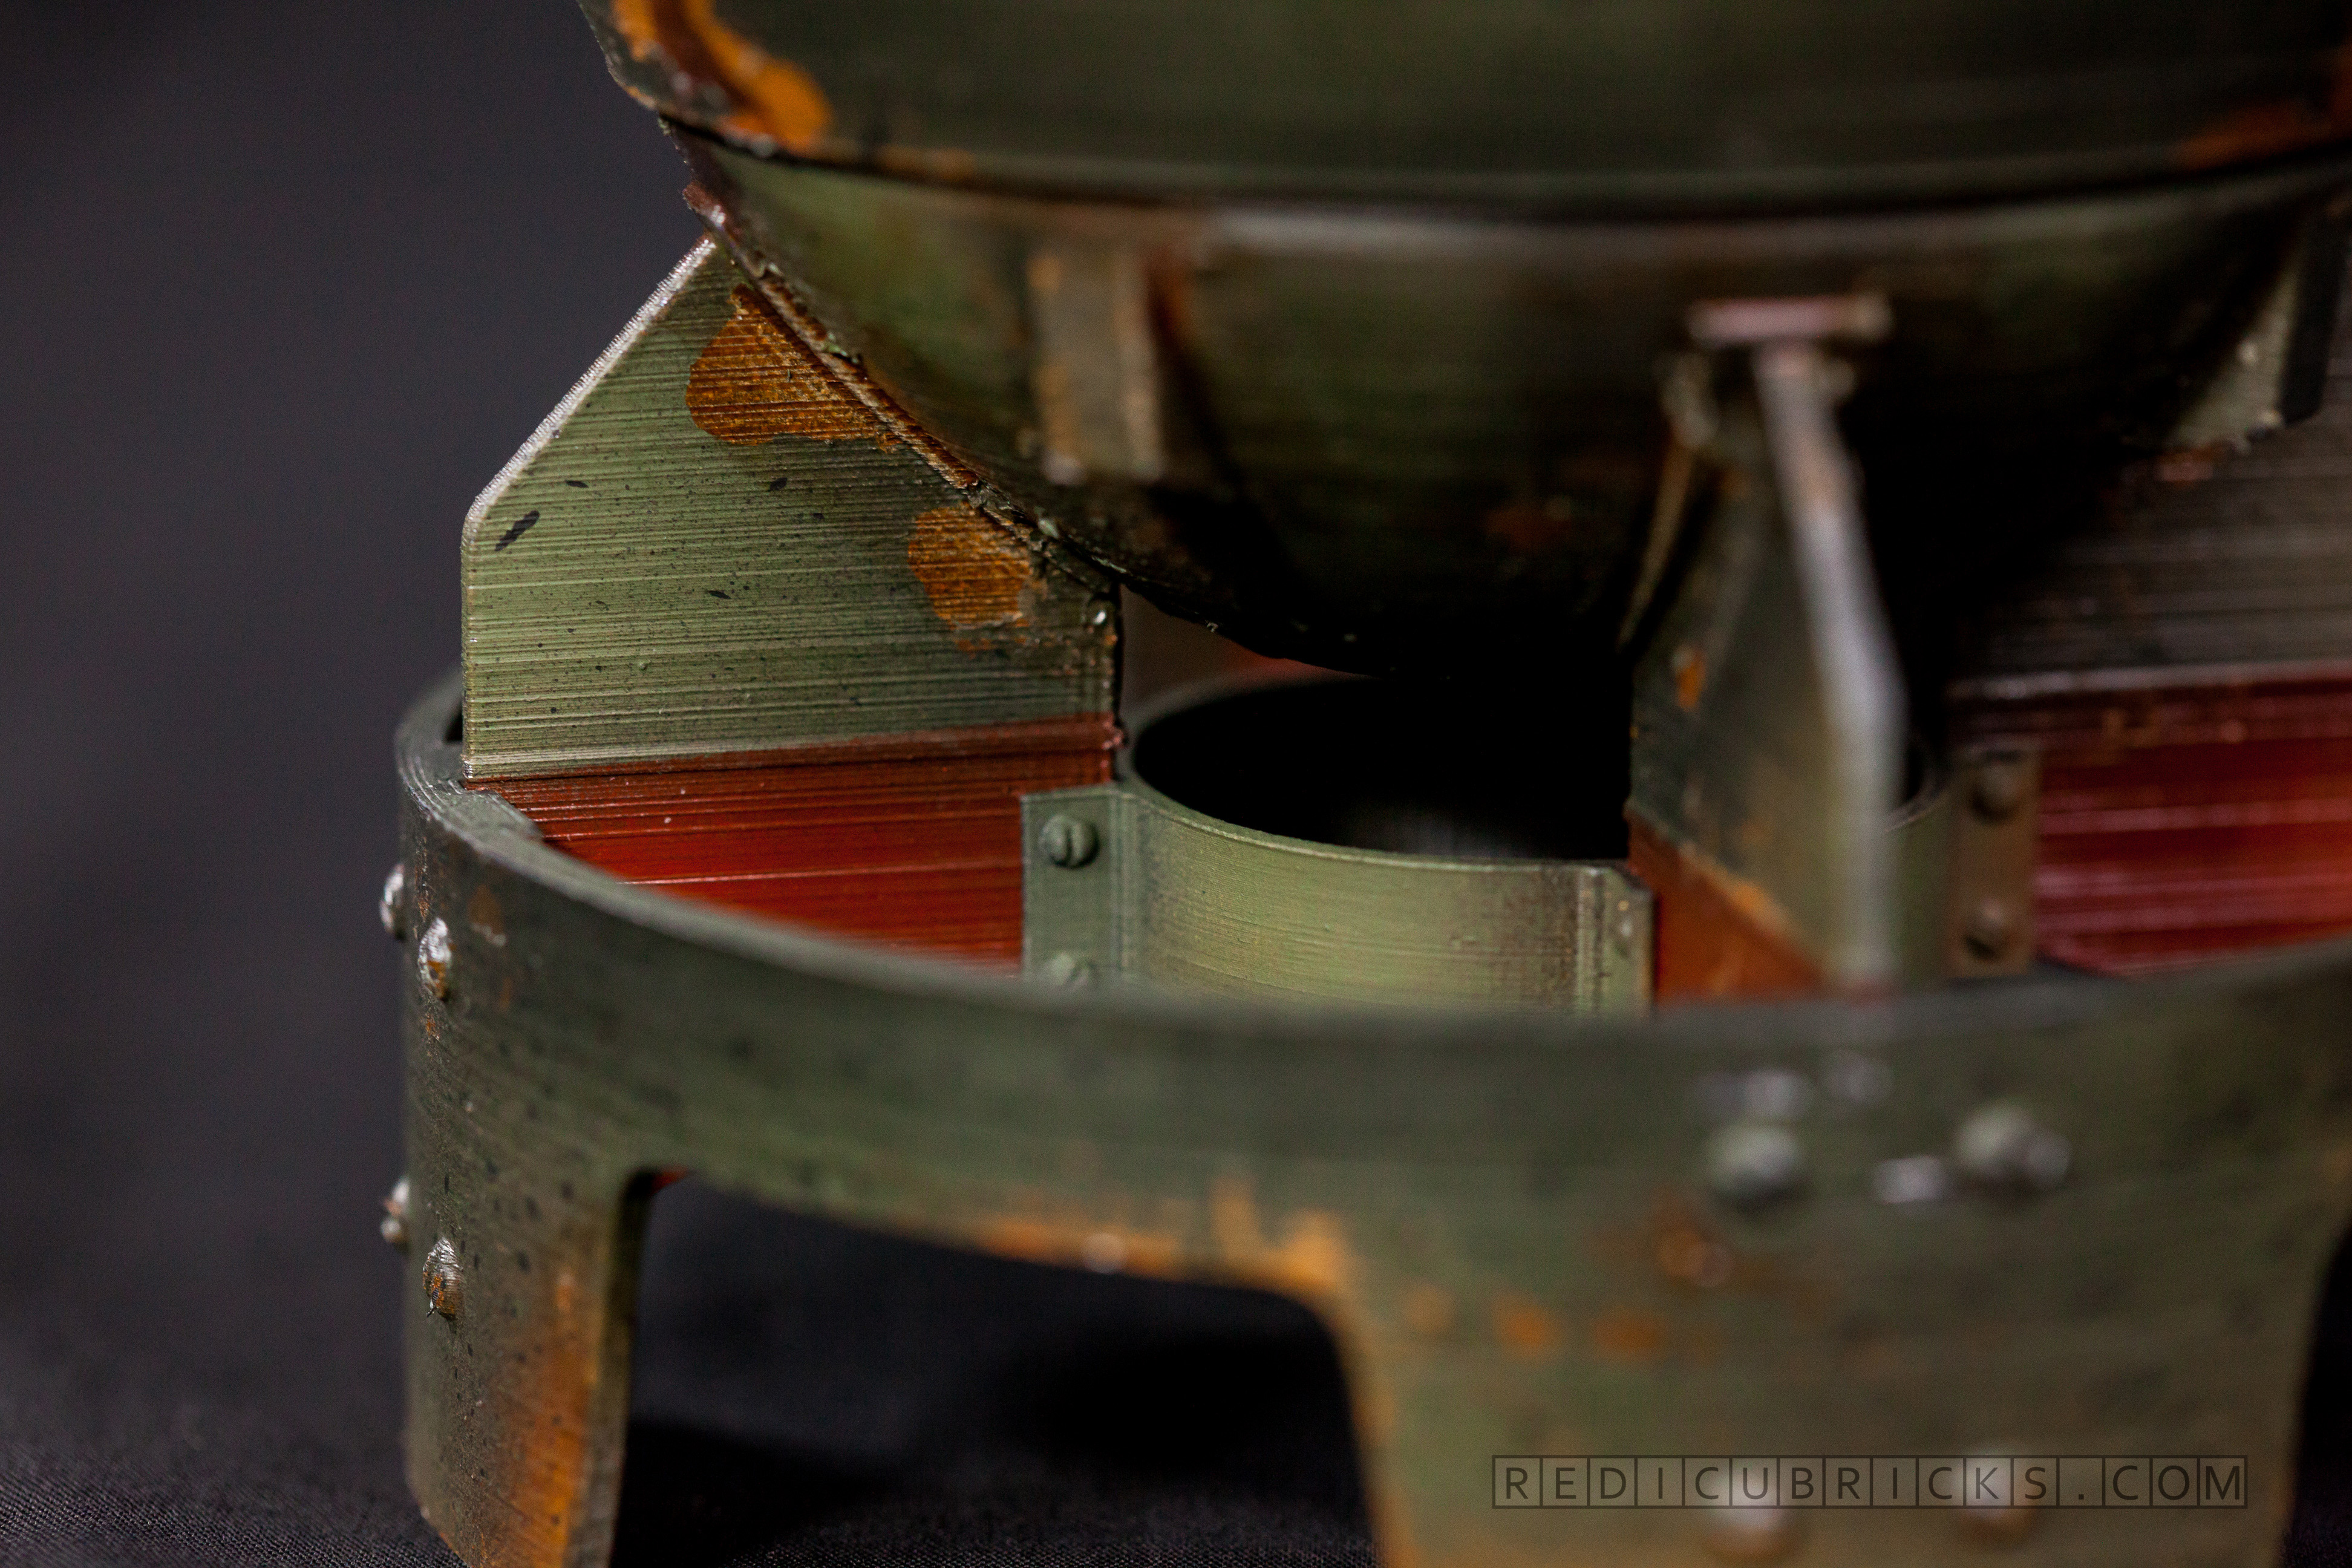
Tape is used to mask off the yellow strip, and liquid mask is used to create the chipping effect. There are two layers of liquid mask, one between the rust and the green base, and one between the yellow strip and green base. This creates two levels of paint chipping which gives it more depth and realism.
This is what it looks like as a raw print (semi assembled). Printed on the Ultimaker 2 and Ultimaker 2 Go, the surface finish is excellent. No supports needed on any part.
The parts breakdown.
Hope you enjoy! I have a full version with no cutout and a cut version that’s painted. Fun times.

Also, because we like Ultimaker’s so much, we’re now the official sales partner of Ultimaker in Canada! If you’re around the GTA, you can visit us and see all our stuff on display in our showroom including the mini nuke. Come visit! www.shop3d.ca
Files & Kits aren’t available yet. We’re still working out what we wanna do with them. But interesting things ahead!
As usual thanks to telkin for great photos and video! Watch this cool video of it in the meantime & let us know what you think about our project!
https://www.youtube.com/watch?v=sNrNbSwTBMA
You must log in to post a comment.